Discover what factors affect the price of your pet-friendly turf installation. Use this guide as a cost breakdown to understand the price to install pet turf per 1,000...

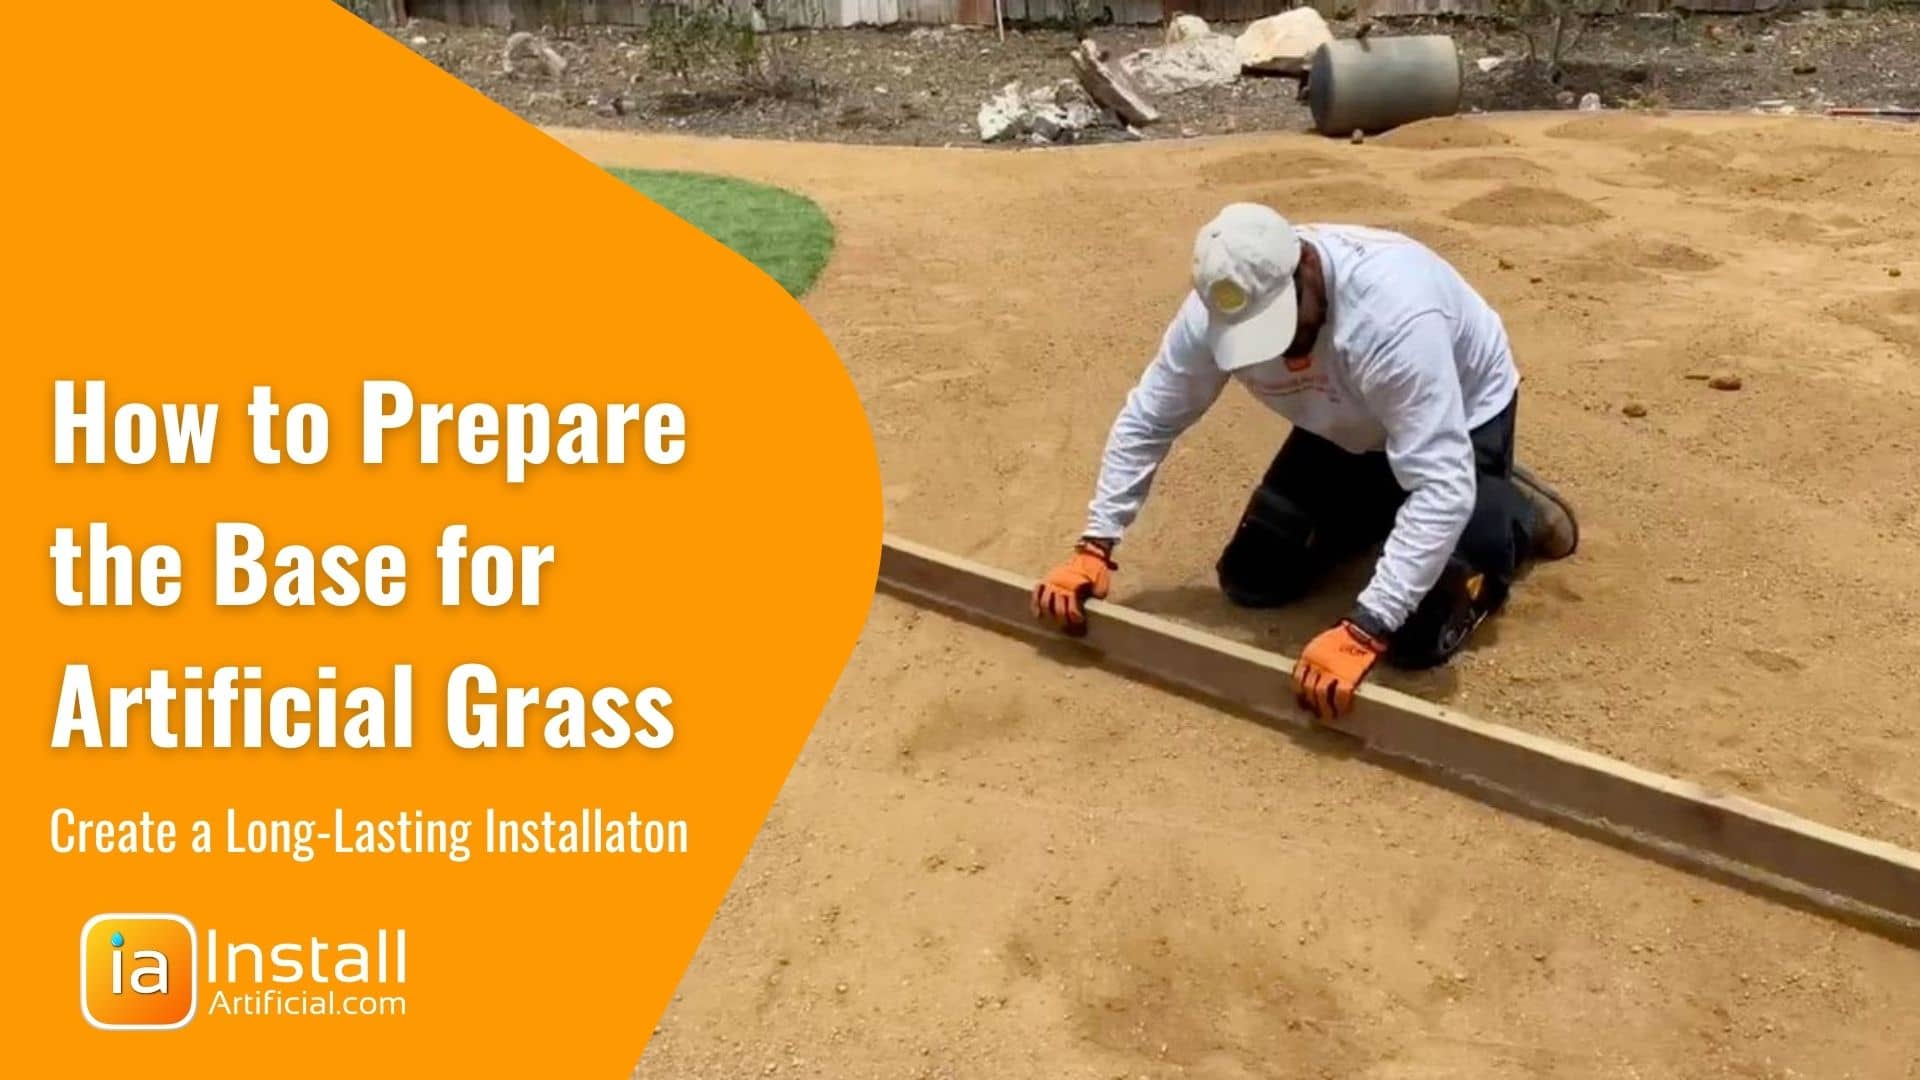
Learn how to remove the existing ground cover and prepare the base of artificial grass to ensure your new synthetic lawn will be long-lasting. Hear prep recommendations for DIYers, and manufacturer's guidelines to understand the process of installing the base layer for turf.
If you're looking for a low-maintenance, drought-resistant lawn, artificial grass is a great option. Artificial grass looks incredibly realistic, and it's available in a variety of different shades and textures. In addition to being easy to care for, artificial grass also doesn't require irrigation or fertilizers, making it an environmentally-friendly choice. When installed correctly with high-quality materials, you're set for up to 15 years. Thanks to its many benefits, artificial grass has become increasingly popular among homeowners in California.
With that being said, the lifespan of your synthetic lawn can be greatly reduced if the artificial grass base is not prepped correctly with the right materials. Proper installation is extremely important. Because the base is not visible to clients, contractors can skip steps here and you won't notice until a few months down the line when you start to run into problems. Keep reading to learn how to prep the base for artificial turf installation.
While many think you can simply throw synthetic grass over your existing surface and secure it down, there's much more that goes into it. With a poorly prepped base layer, you'll be at risk of the lawn sinking in spots, bumps or wrinkles forming, and edges uplifting. Pests such as gophers and moles will also have more access to ruin your installation if the base is not solid. Also, weeds will flourish without a properly compacted sub base. So what do you put under artificial grass?

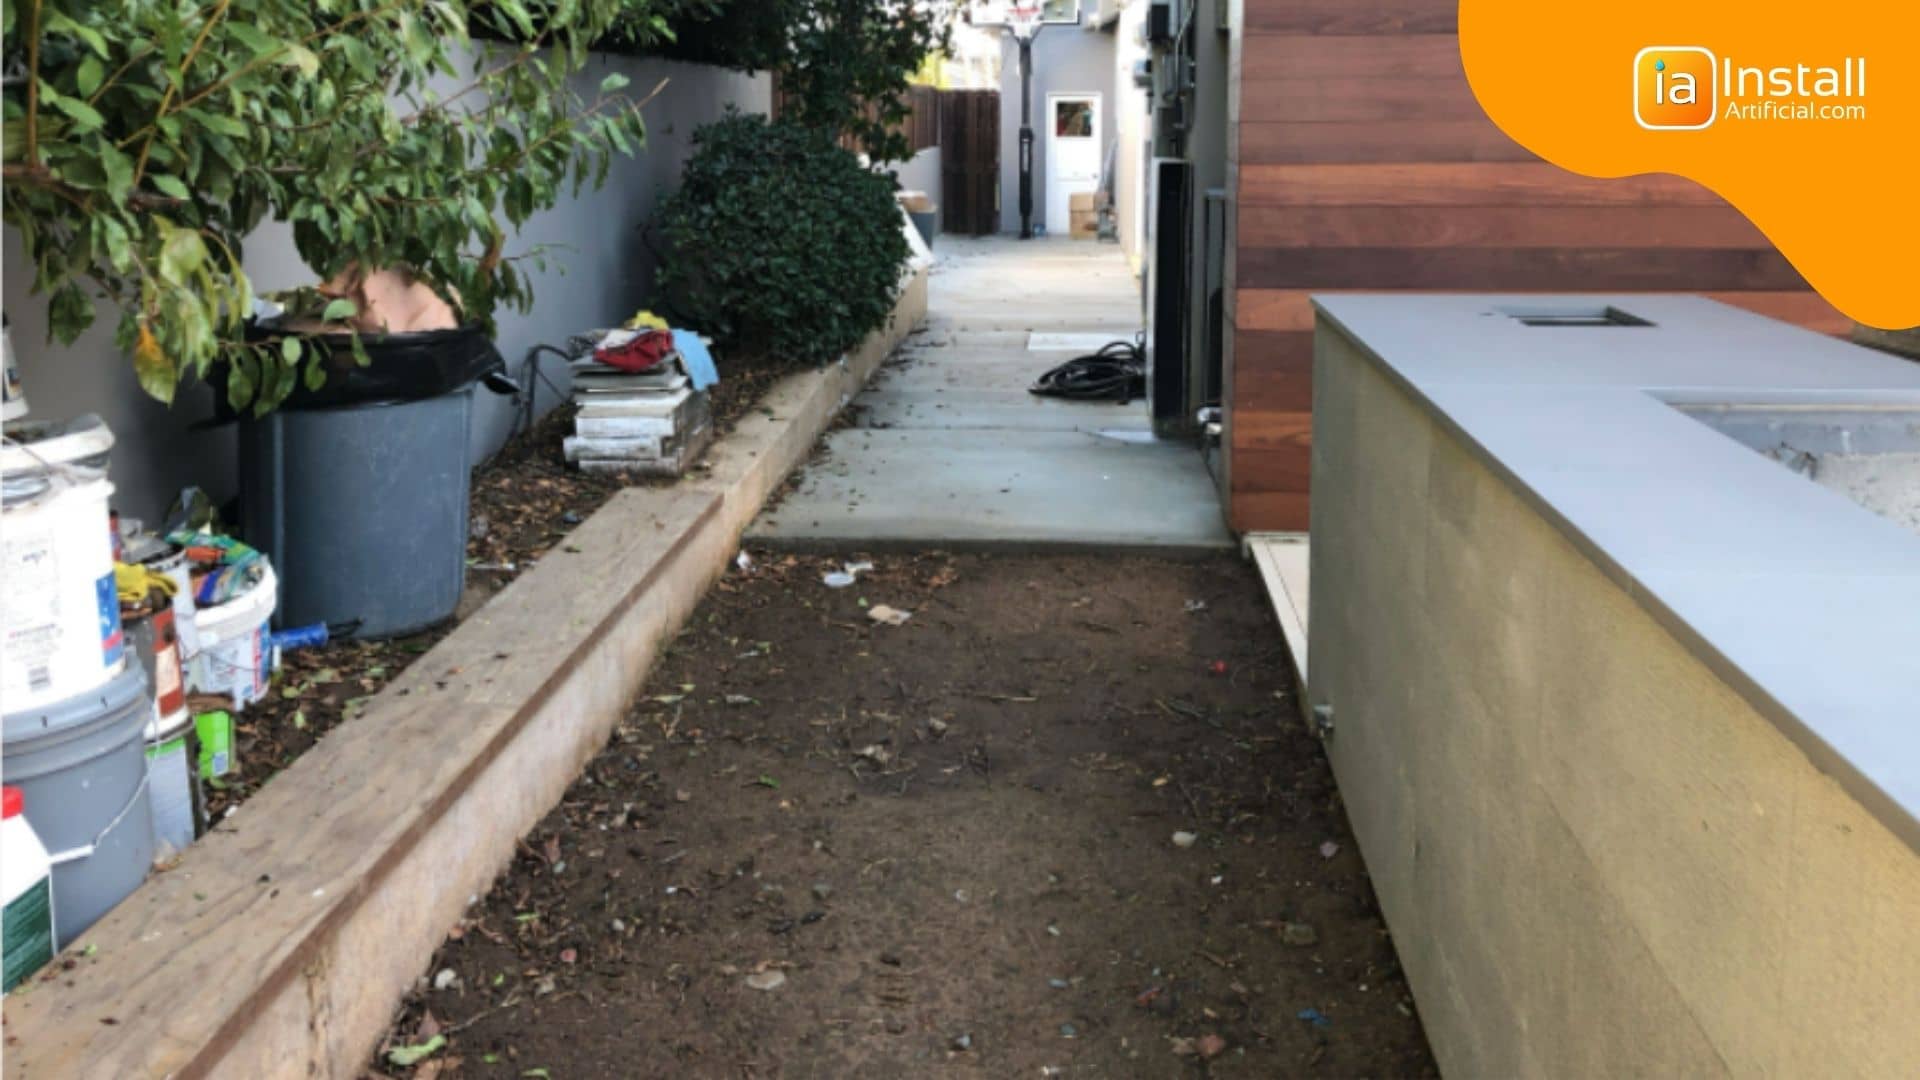
Two weeks to a month prior to installation, begin shutting down sprinkler systems and stop watering the existing lawn. Unhealthy and dead grass will be easier to remove and can help you save on dumping costs. You can also spray the area with a weed killer to accelerate the process of killing the natural grass and existing plants. Don't wait too long after the grass dies to remove it as this can lead to heavy weeds flourishing in the area in the meantime. Areas with heavy weeds will result in more dumping costs and extra labor.
About 2 in. of grass and soil will be removed from the surface to make room for the new base layer of your artificial grass installation. For DIYers, you can use an aluminum landscape rake to remove the dead grass and soil once it has dried up. We use professional sod cutters to cut natural turf. This way we achieve a smooth surface that allows for thorough compaction and prevents soil settling bumps in future.
According to manufacturers, the best and most effective base layer for artificial turf is a class II road base. They recommend removing 2" of soil and suggest removing a bit more along the perimeter where root systems are stronger. Before moving forward heavily apply weed killer to the surface. We also use a weed preventer that attacks the seeds. You can also lay a weed barrier cloth if you'd prefer. However, the weed barrier installed underneath the base is not very effective against weeds, and can often just be a layer that traps bacteria. We never recommend using weed barrier for pet-friendly artificial lawns, but instead a strong weed preventer when installing artificial grass.
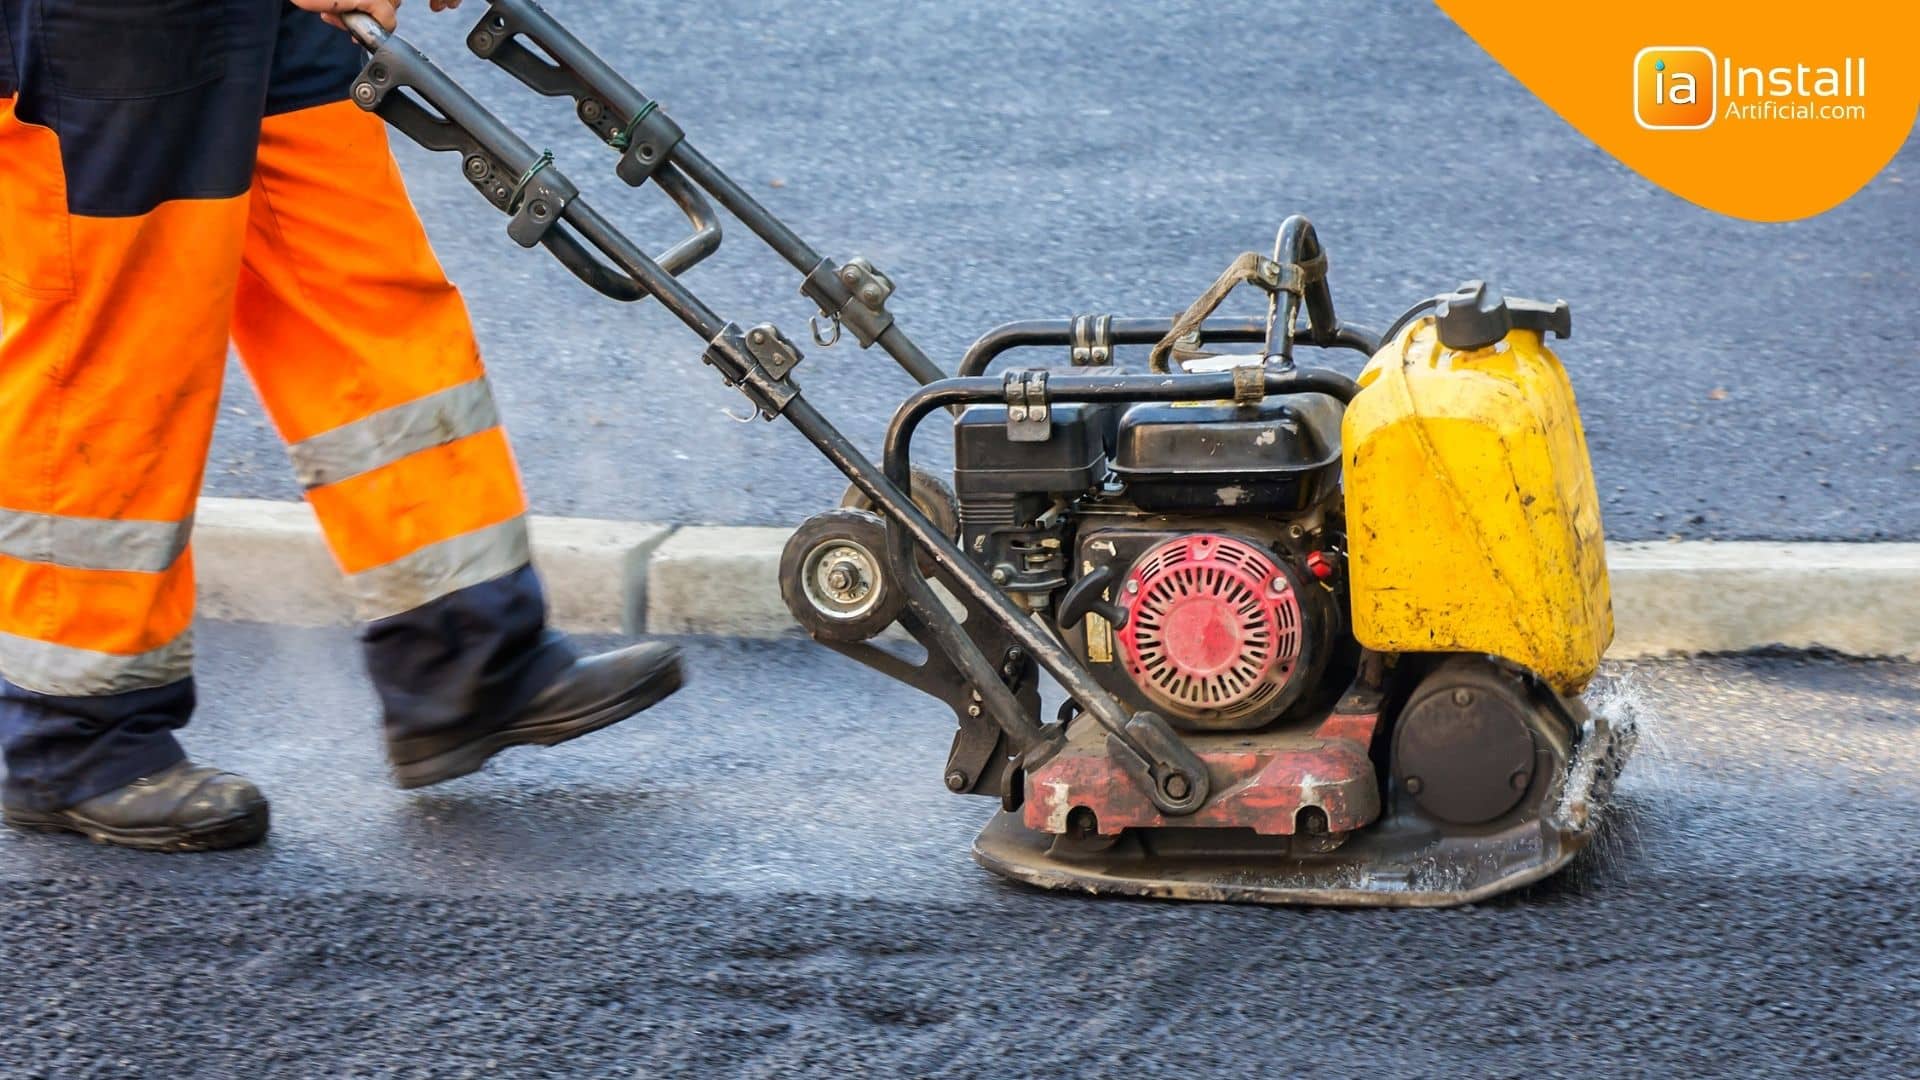
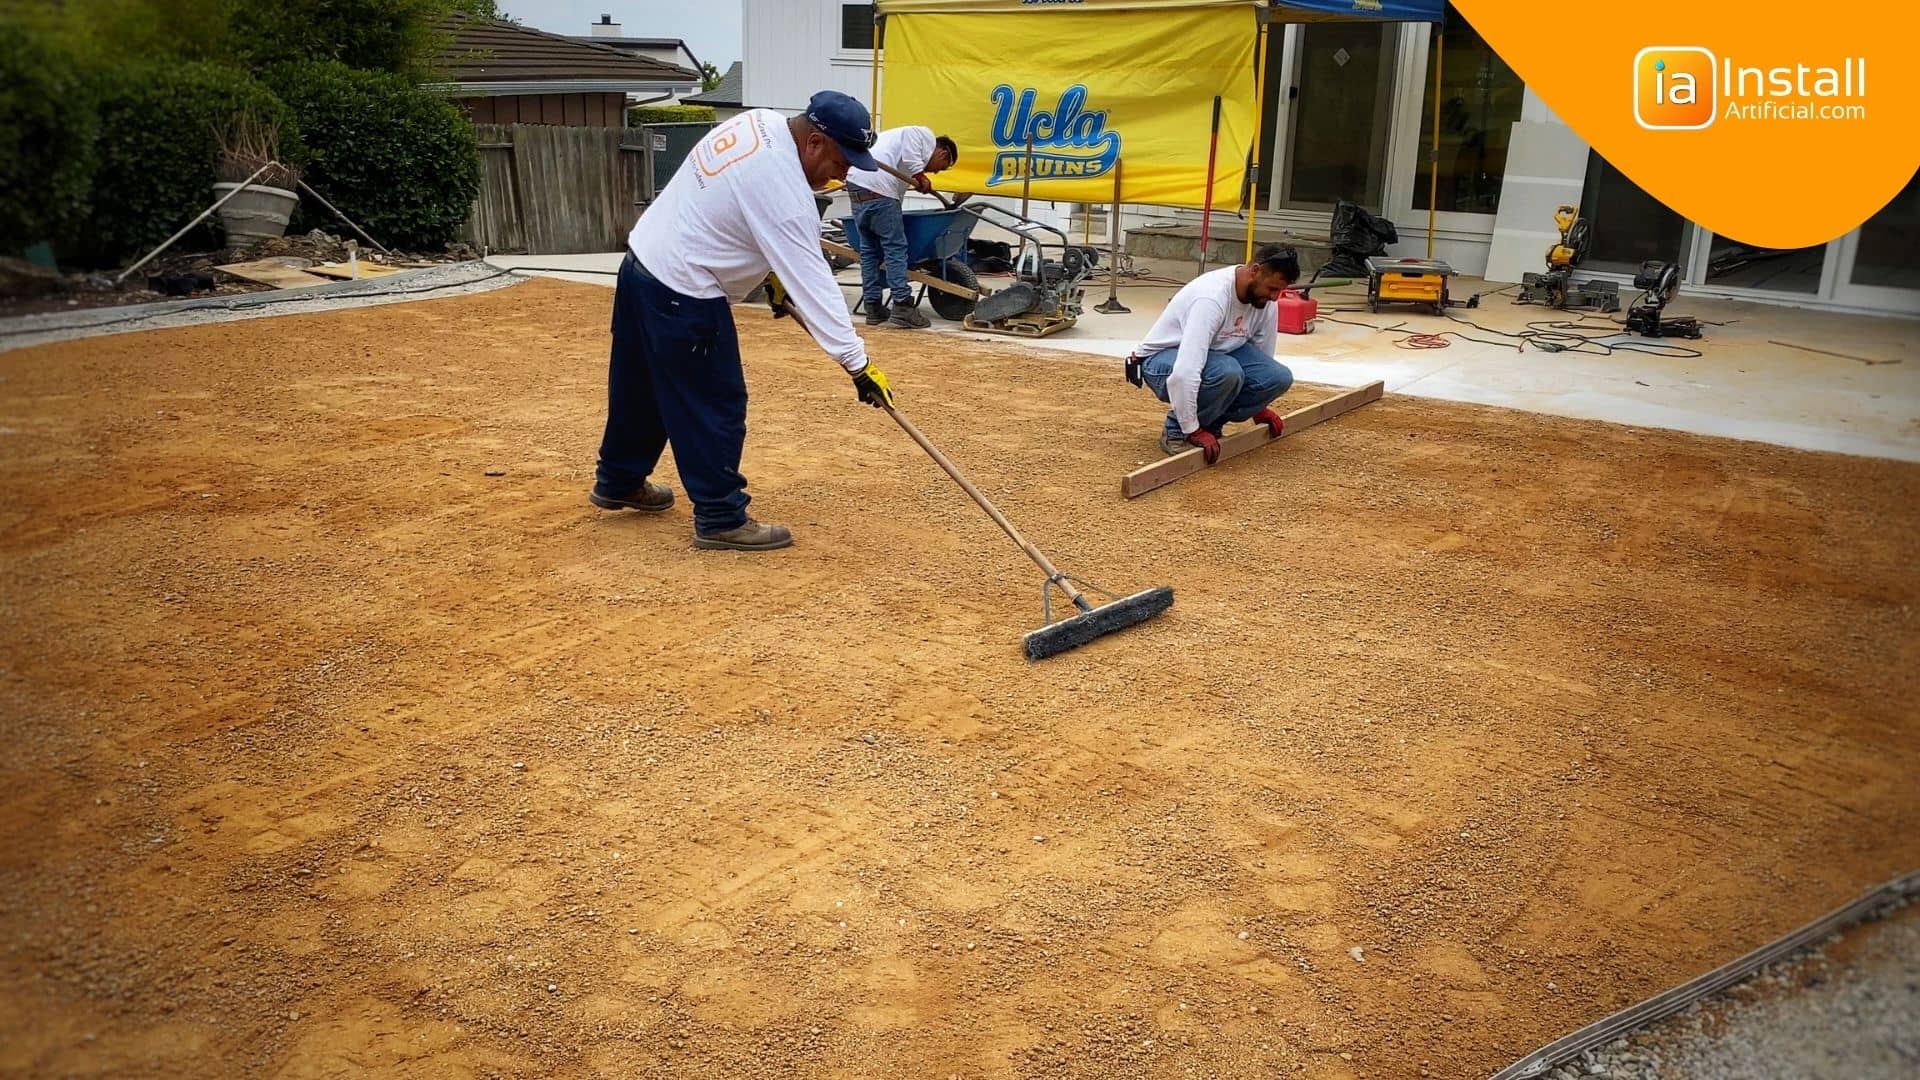
Manufacturers then advise adding an even layer of class II road base material along the surface about 2-3" thick and heavily compacting using a stamp compactor. Prior to compaction ensure the road base is dispersed along the surface evenly. When compacting, move in circles around the surface rather than pulling it back and forth. Compact both clockwise and counterclockwise for the best results. Be careful when compacting near concrete edging and make sure you get into the corners at an angle to compact the borders securely.
For DIYers, it's often hard to find access to heavy machinery and the materials needed to follow manufacturers' recommendations when installing the artificial turf base layer. For this reason, homeowners installing artificial turf themselves will usually prepare the sub-base layer a bit differently.
To save money, we'd recommend avoiding renting expensive machinery when laying the base material and instead working with tools that can be easily handled by one person. The beginning of the artificial grass base prep will remain the same, remove the soil and apply a weed killer to the surface.
Use decomposed granite as an alternative artificial grass underlay, it's much easier to get ahold of than road base. Evenly disperse about 2" of DG with a push broom along the surface. Then use a heavy-duty roller to compact the surface. Roll along the DG in multiple directions for the best results.
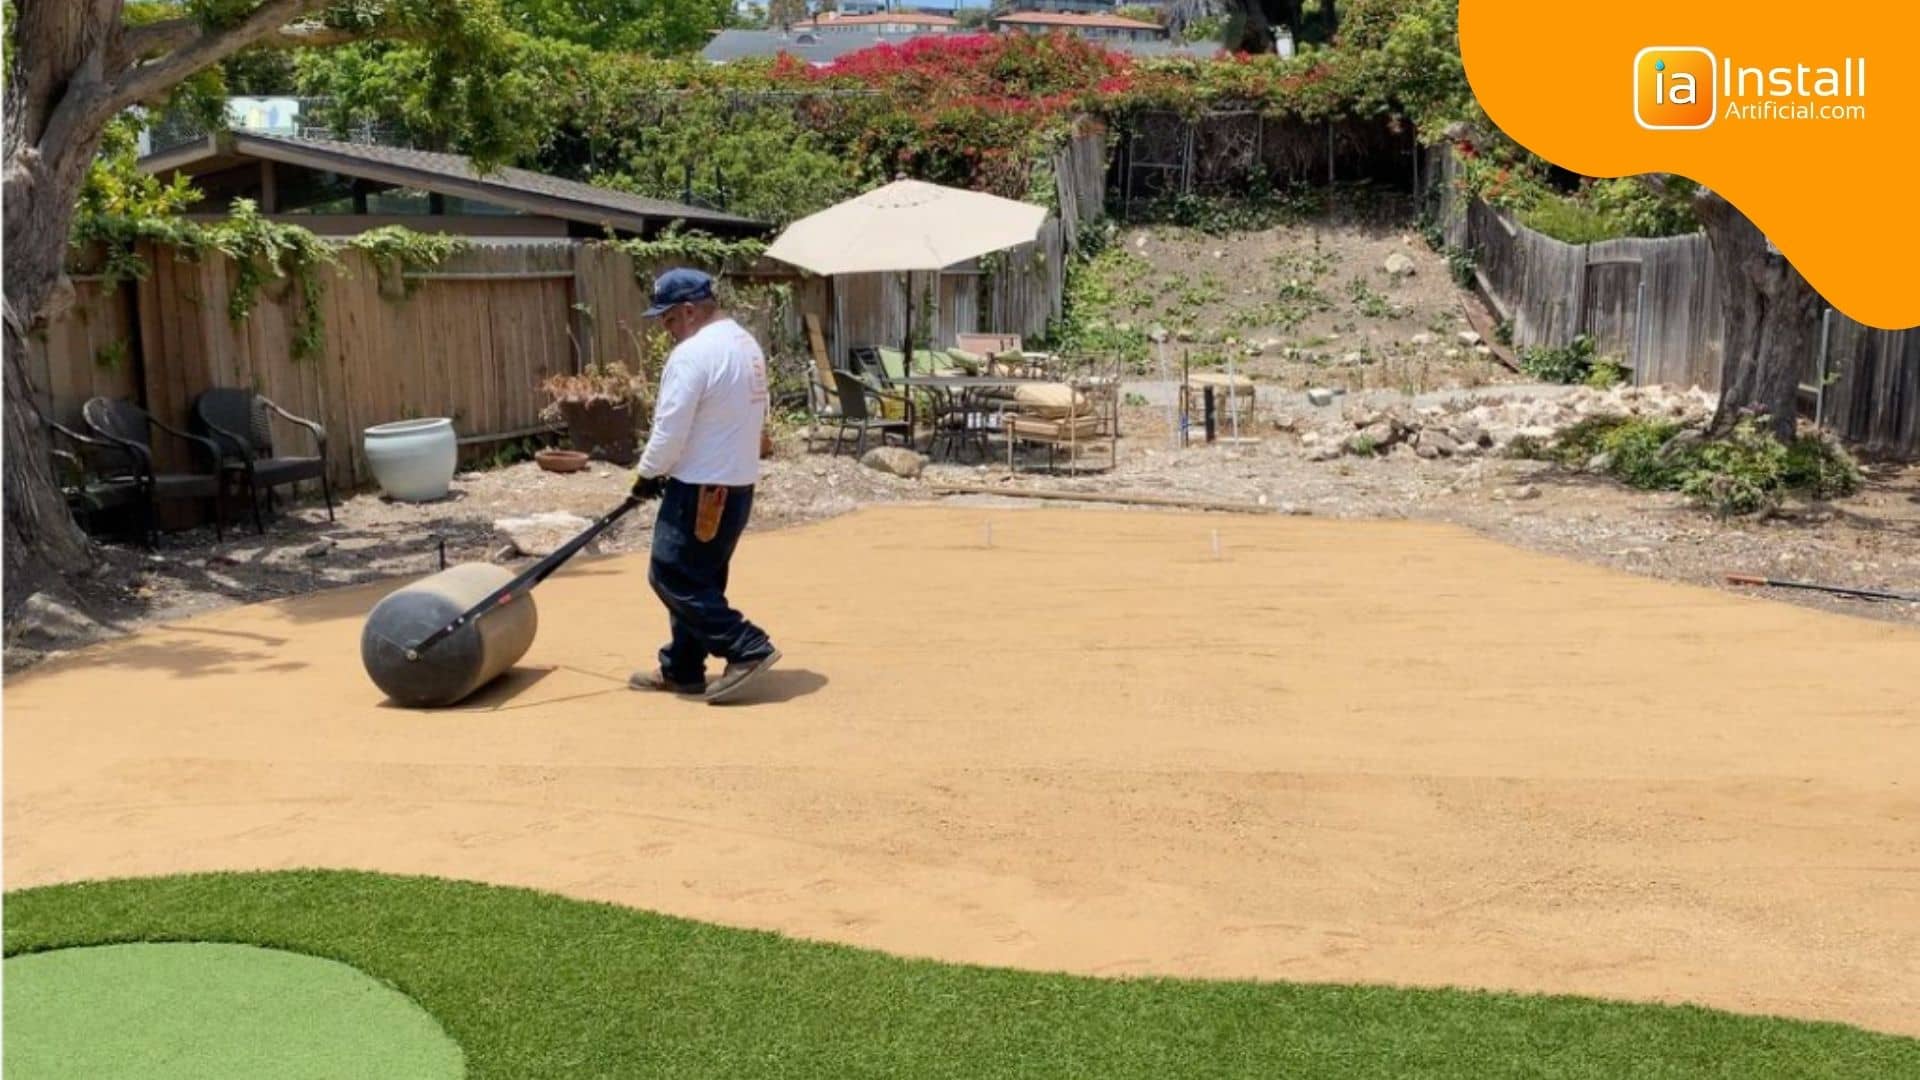
To ensure your base won't wash away with rainfall, you must apply a stabilizer on the DG after compaction. This will provide you with a sturdy enough base to hold the nails when you're securing the artificial turf down. Skipping the stabilizer will be detrimental to the lifespan of your new artificial lawn. Allow the area to fully dry before moving forward with the artificial grass installation.

Artificial grass can be installed directly over concrete as long as the concrete itself doesn't cause drainage issues or create any obstructions to the design and layout that you're going for. To avoid mold, proper drainage underneath turf is a must when installing over hard surfaces.
Prior to artificial grass installation, we'd recommend chopping off any sharp edges of concrete to smooth the area and allow for easy gluing. Keep in mind that heavy professional adhesives may leave stains on the concrete upon removal of artificial grass! Even though stains may occur, we always recommend securing the artificial turf with glue to prevent wrinkles and movement as the temperature fluctuates.
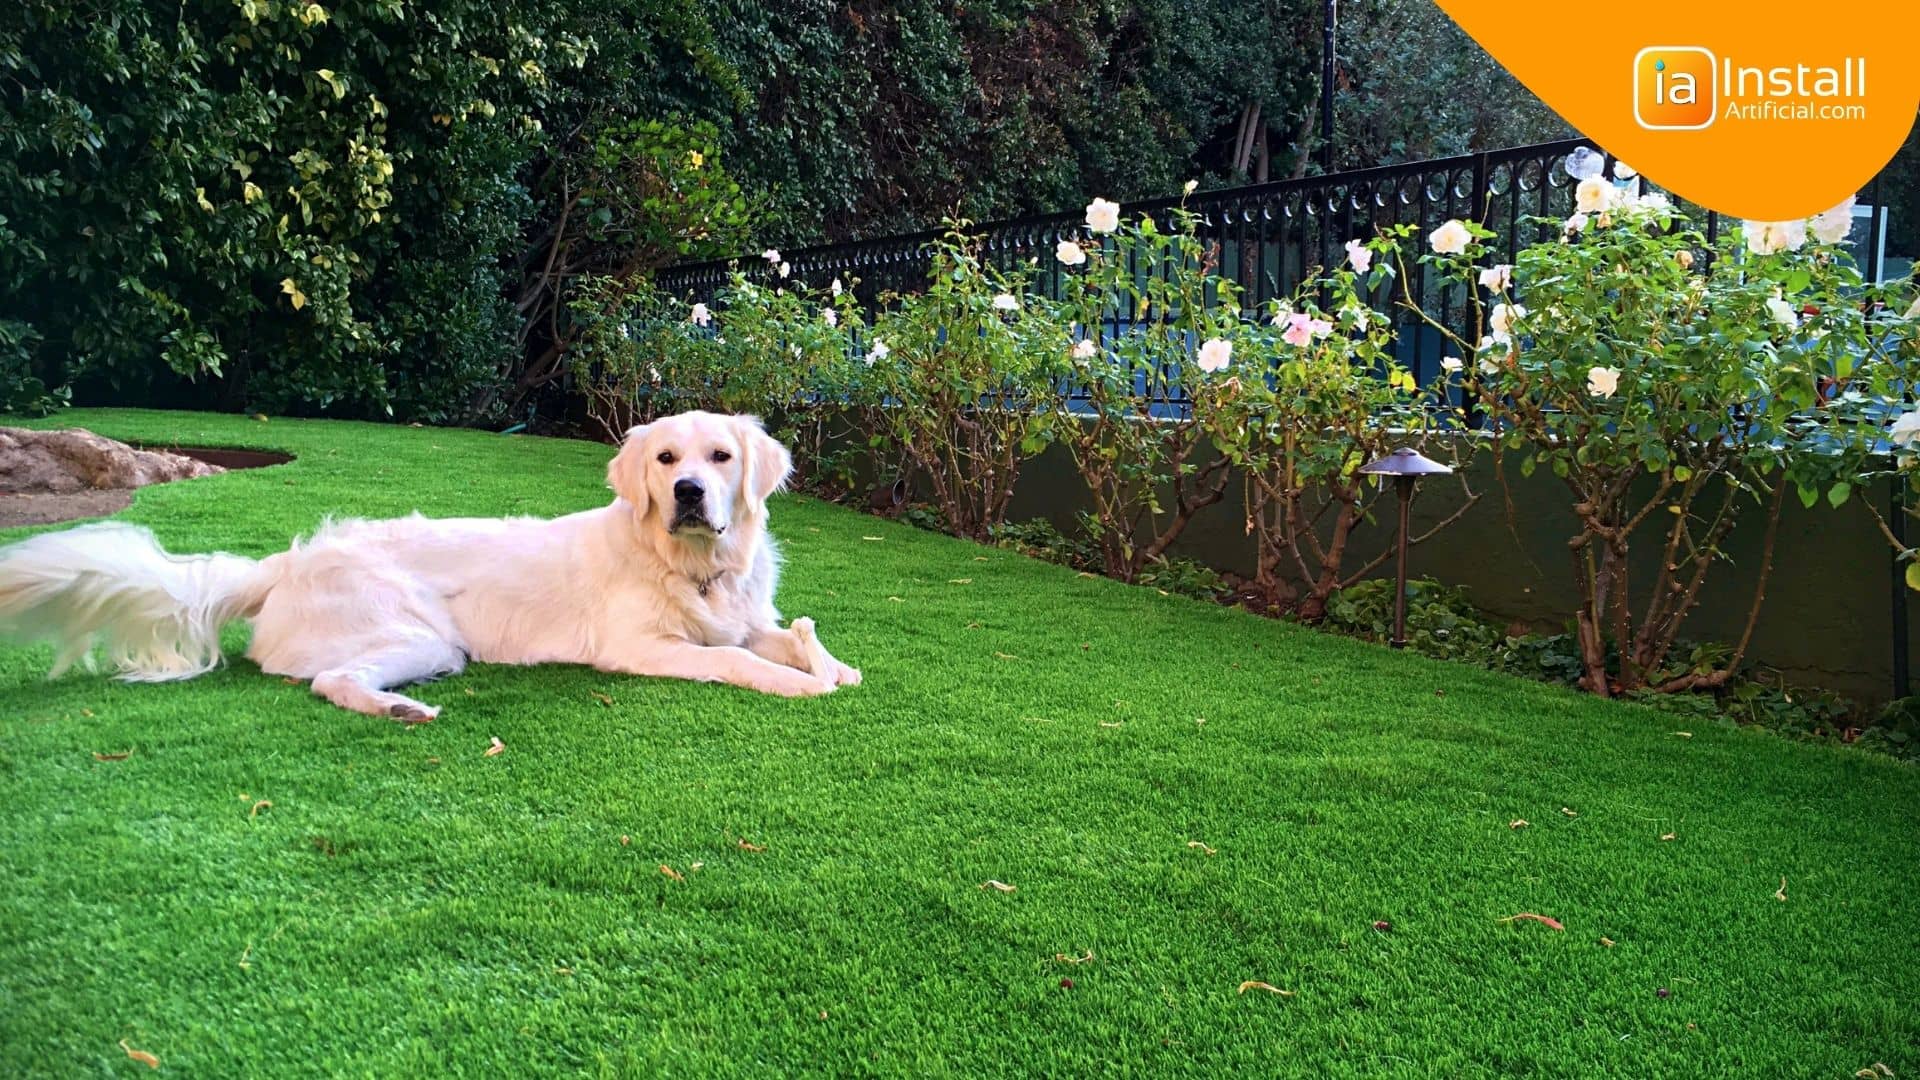
Prepping the base for artificial pet turf is no different from the process for regular synthetic lawns. However, we'd recommend laying a 1/4" layer of Zeofill along the compacted base before laying down your pet-friendly artificial grass. Zeofill prevents pet odors by acting as a deodorizer and will trap ammonia smells from urine until you're able to flush out and sanitize the area. Remember, a weed barrier is not recommended when prepping the sub base material for pet turf.
If your artificial grass lawn has any dips, we'd recommend installing a french drain in that area to accelerate water movement. While this is not required, a french drain will help percolate liquids quicker and combat odors from occurring in pet turf systems.
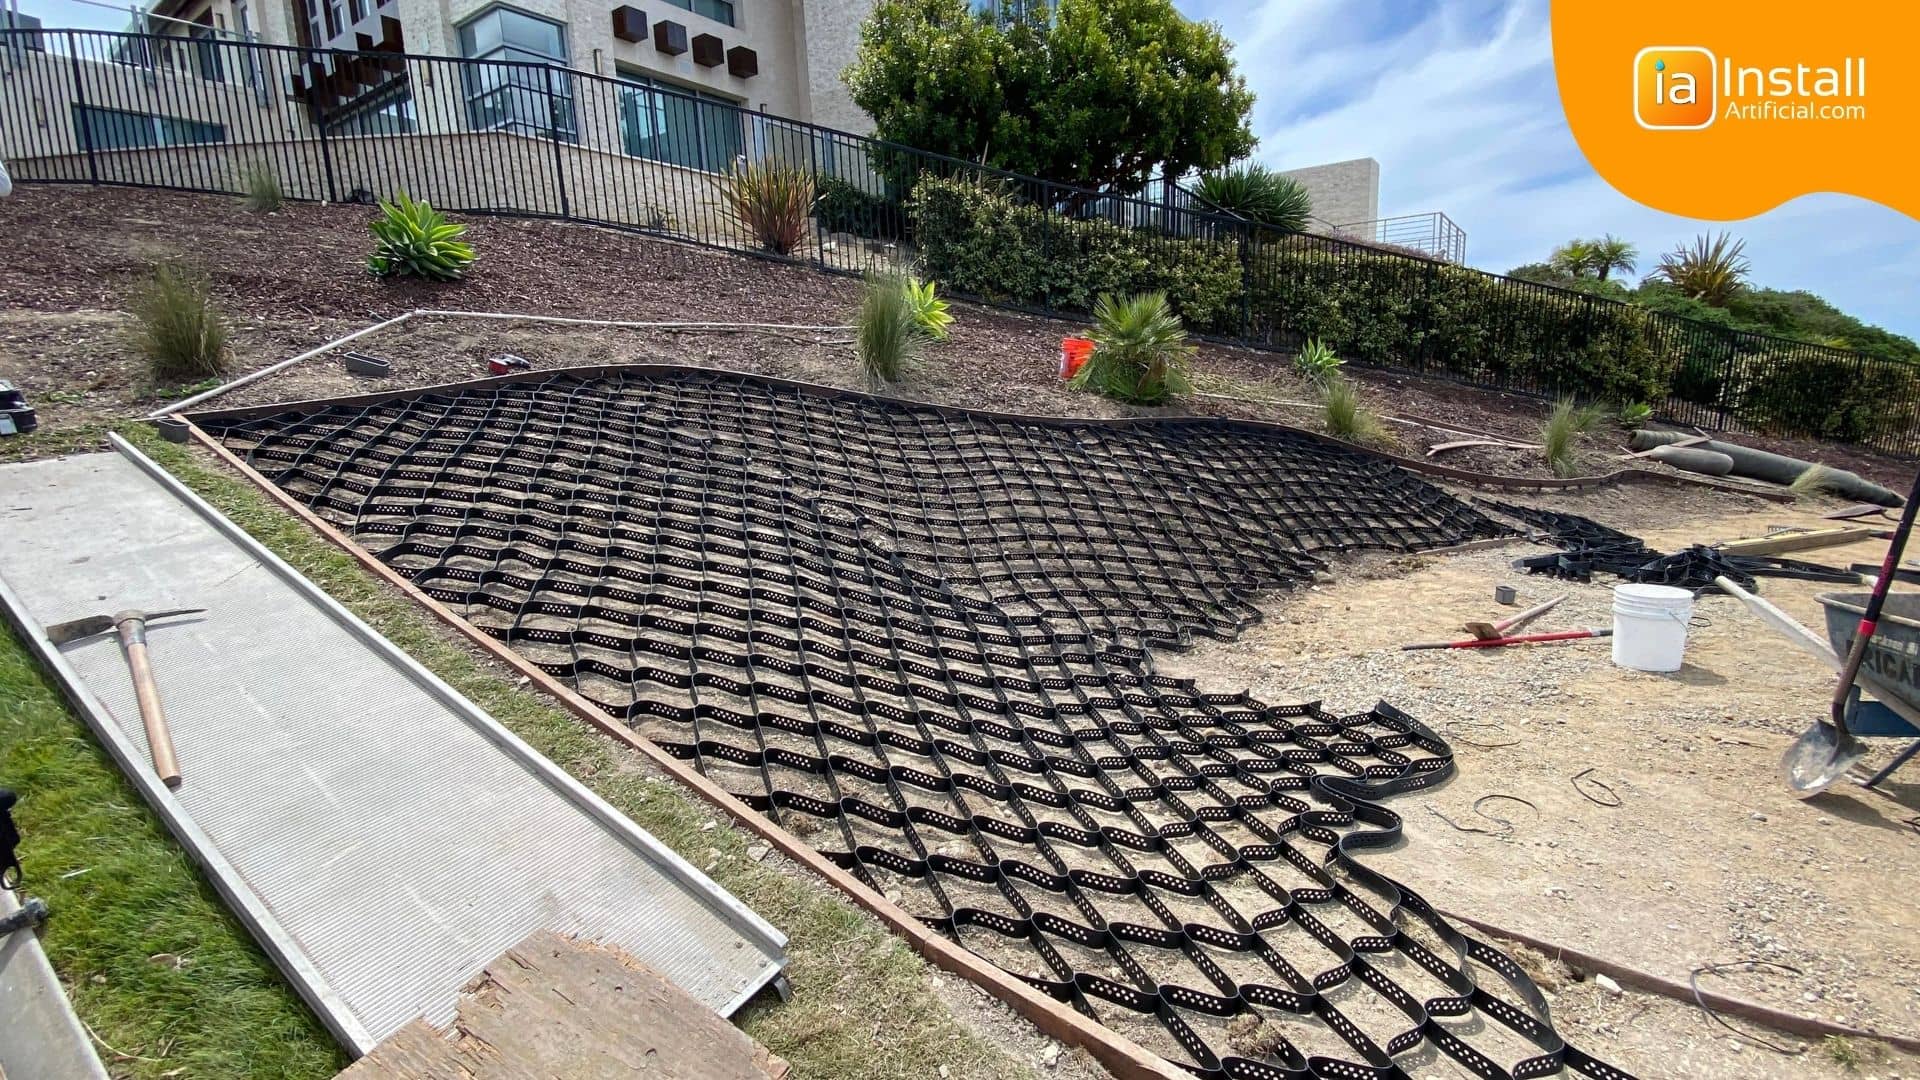
When preparing the base for artificial turf on a slope or hill, there may be some added steps to ensure the slope is secure and won't cause the synthetic turf to slide and move over time.
We'd recommend laying wire mesh, such as chicken wire, prior to adding your road base to the surface. The area will then be compacted to manufacturers' recommendations. This wire mesh used in conjunction with the base layer will provide added security when you install artificial turf.
For larger slopes, you'll need to use a stabilization membrane cell. Lay this on the surface prior to adding your road base. After compacting the road base, smooth the area by adding a small 1/2" layer of DG and then continue with base layer compaction.
The process of preparing the base layer for a putting green is quite similar to regular turf installation, but there are a few additional steps. Grading and leveling are extra important when installing a putting green. Gameplay and the ball roll can be negatively affected if the area isn't level. Also, because the pile height of putting green turf is so short, inconsistencies such as dips and bumps will become much more visible. For this reason, a professional installation process is recommended for backyard putting greens.
When installers are building a putting green, they'll also add a very thin layer of decomposed granite on top of the compacted road base to help smooth out the surface even more.

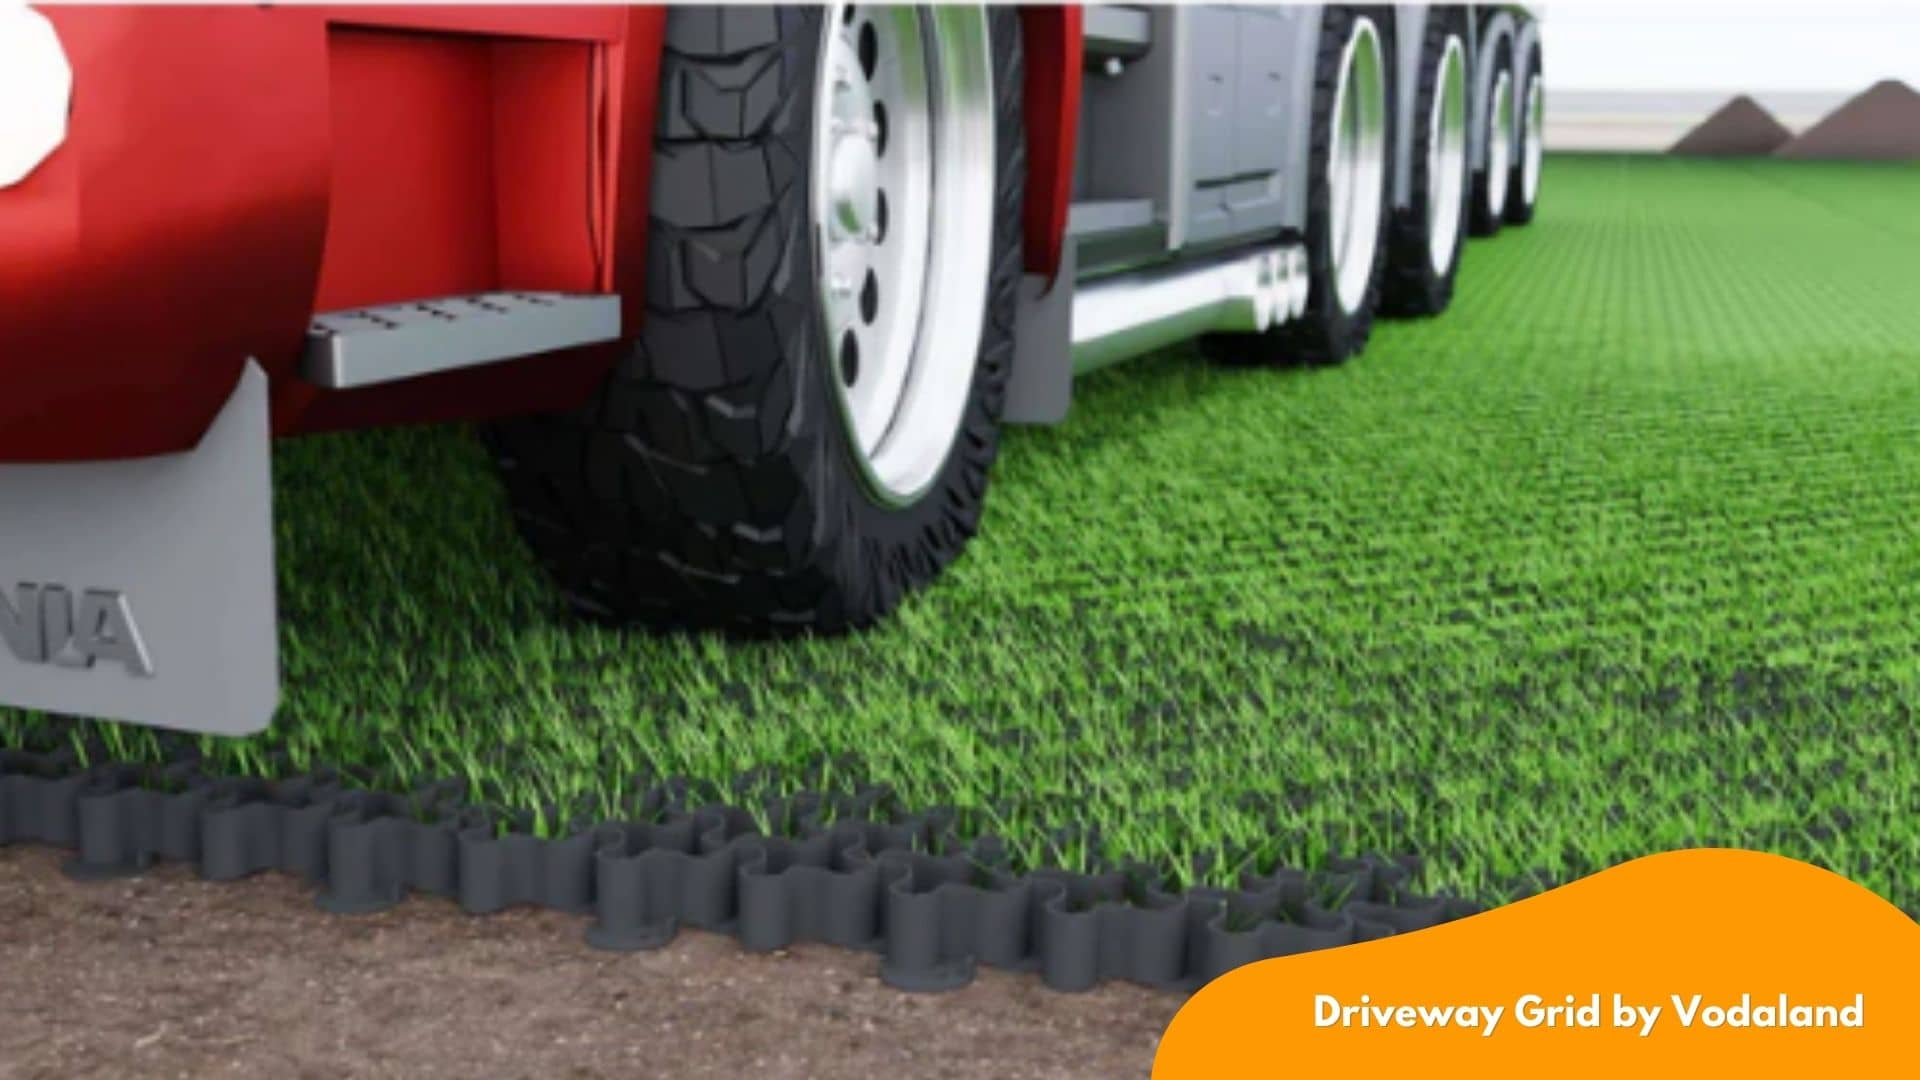
When preparing the base for artificial grass in an area that will be heavily trafficked or a space where cars will drive and park, the turf base layer will need to be provided with a bit more stability. To create drivable grass, you can use geotextile permeable pavers to provide additional support to the base. Prepare the synthetic turf base layer in the same way as manufacturers recommend, and lay these paver tiles along the surface prior to unrolling the fake grass.
We hope this covers all the different base prep scenarios you may find yourself in when installing artificial turf in your space. Once the lawn is covered with artificial grass, it's nearly impossible to pinpoint base prep mistakes until it's too late and the installation is compromised. Always ensure the installation crew you work with uses high quality materials and prepares the sub-base properly. Ready to get your project started with InstallArtificial? Request a custom estimate below in 2 minutes or less!
Aside from creating a solid base for artificial grass installation, you may find that other artificial grass underlays are necessary for your intended use. Turf underlayments such as drainage layers, weed barriers, and padding can be laid beneath the grass to provide added comfort and help lengthen the lifespan of your new lawn.
Skipping the base layer for artificial grass can lead to several issues and may compromise the overall performance and durability of the turf installation. Likely problems when not installing a base include: poor drainage, an uneven surface, weed growth, and poor stability. Over time, without a solid base the soil will shift. This causes dips and sagging to occur which will become a safety hazard.
The best base material for artificial grass is Class II Road Base. This material is used in most professional installations because it provides a very solid foundation. However, DIYers who don't have easy access to this Road Base should use decomposed granite and a stabilizer for the base layer.
Before laying artificial grass, you must remove the natural grass and 2-3 inches of soil. Then you'll want to apply a heavy layer of weed killer before laying the base layer of either Class II Road Base or Decomposed Granite. Double compaction of the base layer is recommended to ensure the foundation is dense and strong.
Once the base is set, you can add additional accessories such as drainage grids or padding layers if desired. For Pet Turf, a drainage layer is always recommended beneath the artificial grass to help with water flow and ventilation.
To begin installing artificial grass and lay the base material, aside from the artificial grass base materials themselves you'll need:
Yes, you can use a paver base for artificial turf installation, and it can be a suitable option depending on your specific project requirements. However, installing pavers is more expensive than the typical turf base material which is Class II Road Base so it may not be a cost effective base selection. Because of this, usually you'll find artificial grass installed over pavers only when they were already pre-existing in the space.
To have the best drainage results, opt for an artificial grass that is fully permeable and allows water to escape through the backing material. There are also drainage grids available that lift the surface to create an air void for ventilation and water flow. Two popular artificial grass drainage grids are AirDrain and DrainCore. In severe cases where water drainage is top of mind or there are existing drainage problems, french drain systems can be installed.
To groom the turf for optimal settling and stability, follow these steps:
1. Begin by using a power brush with heavy bristles. This brush should be used to brush against the grain of the grass. This action helps the grass blades stand upright in preparation for the next steps.
2. Next, it is time to apply the infill or durafill sand. Durafill sand is a suitable option as it is anti-bacterial and safe for both pets and children. Evenly spread the granules throughout the entire turf installation. This step not only provides a balance but also adds weight to the turf.
3. Once the sand has been applied, the next grooming step involves power brushing the turf once more. This time, the brushing should be done lightly. The purpose of this step is to gently force the Envirofill granules into the base of the turf. By doing so, the granules settle and create optimal stability for the turf.
4. Finally, it is important to follow up the entire grooming process by thoroughly removing any excess debris. This will ensure that the turf surface is clean and ready for use.
By following these steps, you can effectively groom the turf for optimal settling and stability.
To apply infill to the turf installation, follow these steps:
Start by using a power brush with heavy bristles. This brush will be used to brush against the grain of the grass. By doing this, the grass blades will stand up in preparation for the filler application. The best filler to use is called antibacterial envirofill sand. It is important to note that durafill/envirofill sand is safe for both pets and children.
Begin by spreading the infill evenly across the entire turf installation. It is crucial to distribute the granules uniformly to ensure a balanced appearance and to hold the grass blades upright. The infill also aids in giving the turf more weight, which contributes to its stability and durability. By following these steps, you will be able to successfully apply the filler to the turf installation, ensuring a well-groomed and natural look.
For seamless installation of bender board to separate turf areas, follow these simple steps:
1. Prepare the area: Begin by clearing any debris, rocks, or vegetation from the desired boundary where you want to create a division between turf areas. It's important to ensure that the ground is level and ready for installation.
2. Measure and mark: Accurately measure the length of the boundary and mark it using stakes or flags. This will serve as a guide during the installation process, ensuring that the bender board is placed evenly.
3. Dig a trench: Excavate a narrow trench along the marked boundary. The depth of the trench should be half the height of the bender board, with an additional inch or two for secure installation.
4. Install the bender board: Carefully place the bender board into the trench, making sure it sits flush with the ground. This will create a clean separation line between the turf areas. The bender board should be flexible enough to accommodate gentle curves if needed.
5. Secure the bender board: Use stakes or anchors to secure the bender board in place at regular intervals, typically every 4-6 feet. Drive the stakes or anchors through pre-drilled holes in the bender board and into the ground to provide stability.
6. Connect multiple pieces (if necessary): If your boundary requires multiple lengths of bender board, overlap the ends slightly and use connectors or screws to join them securely. It's essential to ensure a seamless connection between the pieces to maintain a neat and professional appearance.
7. Backfill and clean up: Fill the trench with soil, compacting it gently to provide support for the bender board. Smooth out the soil on both sides of the board to create a clean and smooth transition between the turf areas.
By following these steps, you'll be able to effortlessly install bender board and achieve a well-defined separation between your turf areas.
To relocate sprinklers and modify irrigation lines, follow these steps:
1. Begin by identifying any existing sprinklers that will not be used and cap them at the pipe level. This is crucial to prevent any leakage between the pipes and risers.
2. If necessary, modify the sprinklers' irrigation or drainage system. This may involve changing their position, adjusting their angles, or changing the drainage setup.
3. For relocating sprinklers, carefully choose new positions that are suitable for efficient water distribution. Consider factors such as plant requirements, landscape layout, and coverage area.
4. Modify existing irrigation lines. This could involve extending or rerouting the pipes to connect to the new sprinkler locations.
5. Once the new layout is determined, it is important to mark the locations of any unused sprinklers that have been capped to avoid depressions or low spots in the landscape. Backfilling the area properly will help ensure a smooth surface.
6. When working with wiring or electrical connections for the sprinklers, make sure to move them inward and away from any hardscape or perimeter by a distance of six to eight inches. This precautionary step minimizes the risk of accidental damage during the process of securing the turf edge with nails.
7. After moving the wiring, place it securely on top of the subgrade surfacing using u-nails. Taking care to properly secure the wiring will prevent any hazards and ensure the smooth functioning of the sprinkler system.
1. Identify the sprinklers that are not needed for irrigation purposes. This may be due to changes in landscaping layout or water requirements.
2. Locate the piping system where these sprinklers are connected. It is important to cap them at the pipe level rather than at the rising point to prevent any potential leakage between the two.
3. Obtain appropriate sprinkler caps that fit the size and type of the existing sprinklers. These can usually be found at hardware stores or irrigation supply centers.
4. Turn off the water supply to the sprinkler system to avoid any accidental water flow during the capping process.
5. Unscrew the existing sprinkler heads from the risers or pop-up bodies. Use a wrench or a specific tool, if necessary.
6. Clean the exposed threads and ensure they are free from dirt or debris. This will help provide a solid seal when capping the sprinklers.
7. Apply plumber's thread seal tape or thread sealant on the threads of the sprinkler cap. This will help create a watertight seal and prevent any potential leaks.
8. Screw the sprinkler caps tightly onto the exposed threads of the risers or pop-up bodies. Ensure they are securely fastened to avoid any future issues.
9. Turn on the water supply to re-pressurize the system.
10. Inspect the area to ensure there are no leakages or irregularities. If any depressions or low spots are created during the capping process, back fill the area and mark the location of the unused sprinklers for future reference.

Discover what factors affect the price of your pet-friendly turf installation. Use this guide as a cost breakdown to understand the price to install pet turf per 1,000...