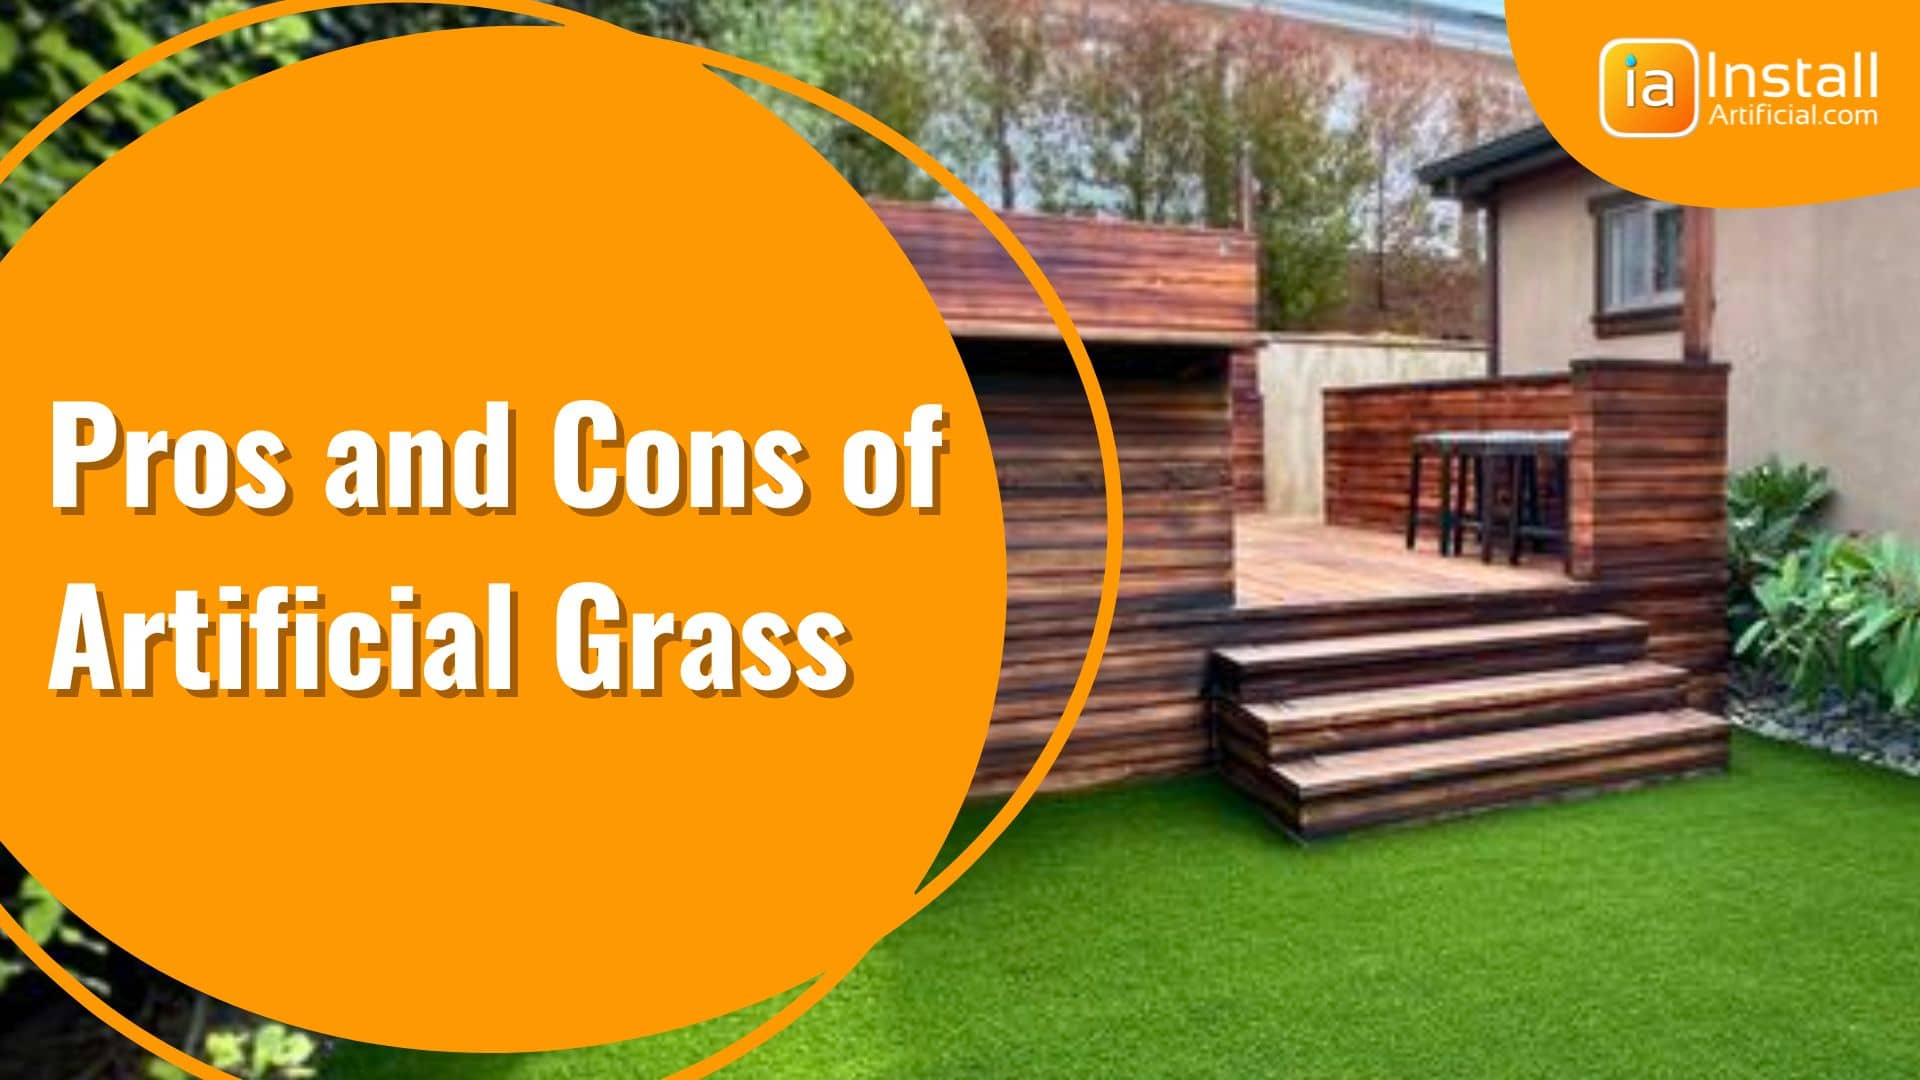
Welcome to the world of artificial turf—where low-maintenance beauty meets everlasting greenery. In this article, we'll dive into the pros, cons, and environmental impact of artificial grass.

Welcome to the world of artificial turf—where low-maintenance beauty meets everlasting greenery. In this article, we'll dive into the pros, cons, and environmental impact of artificial grass.
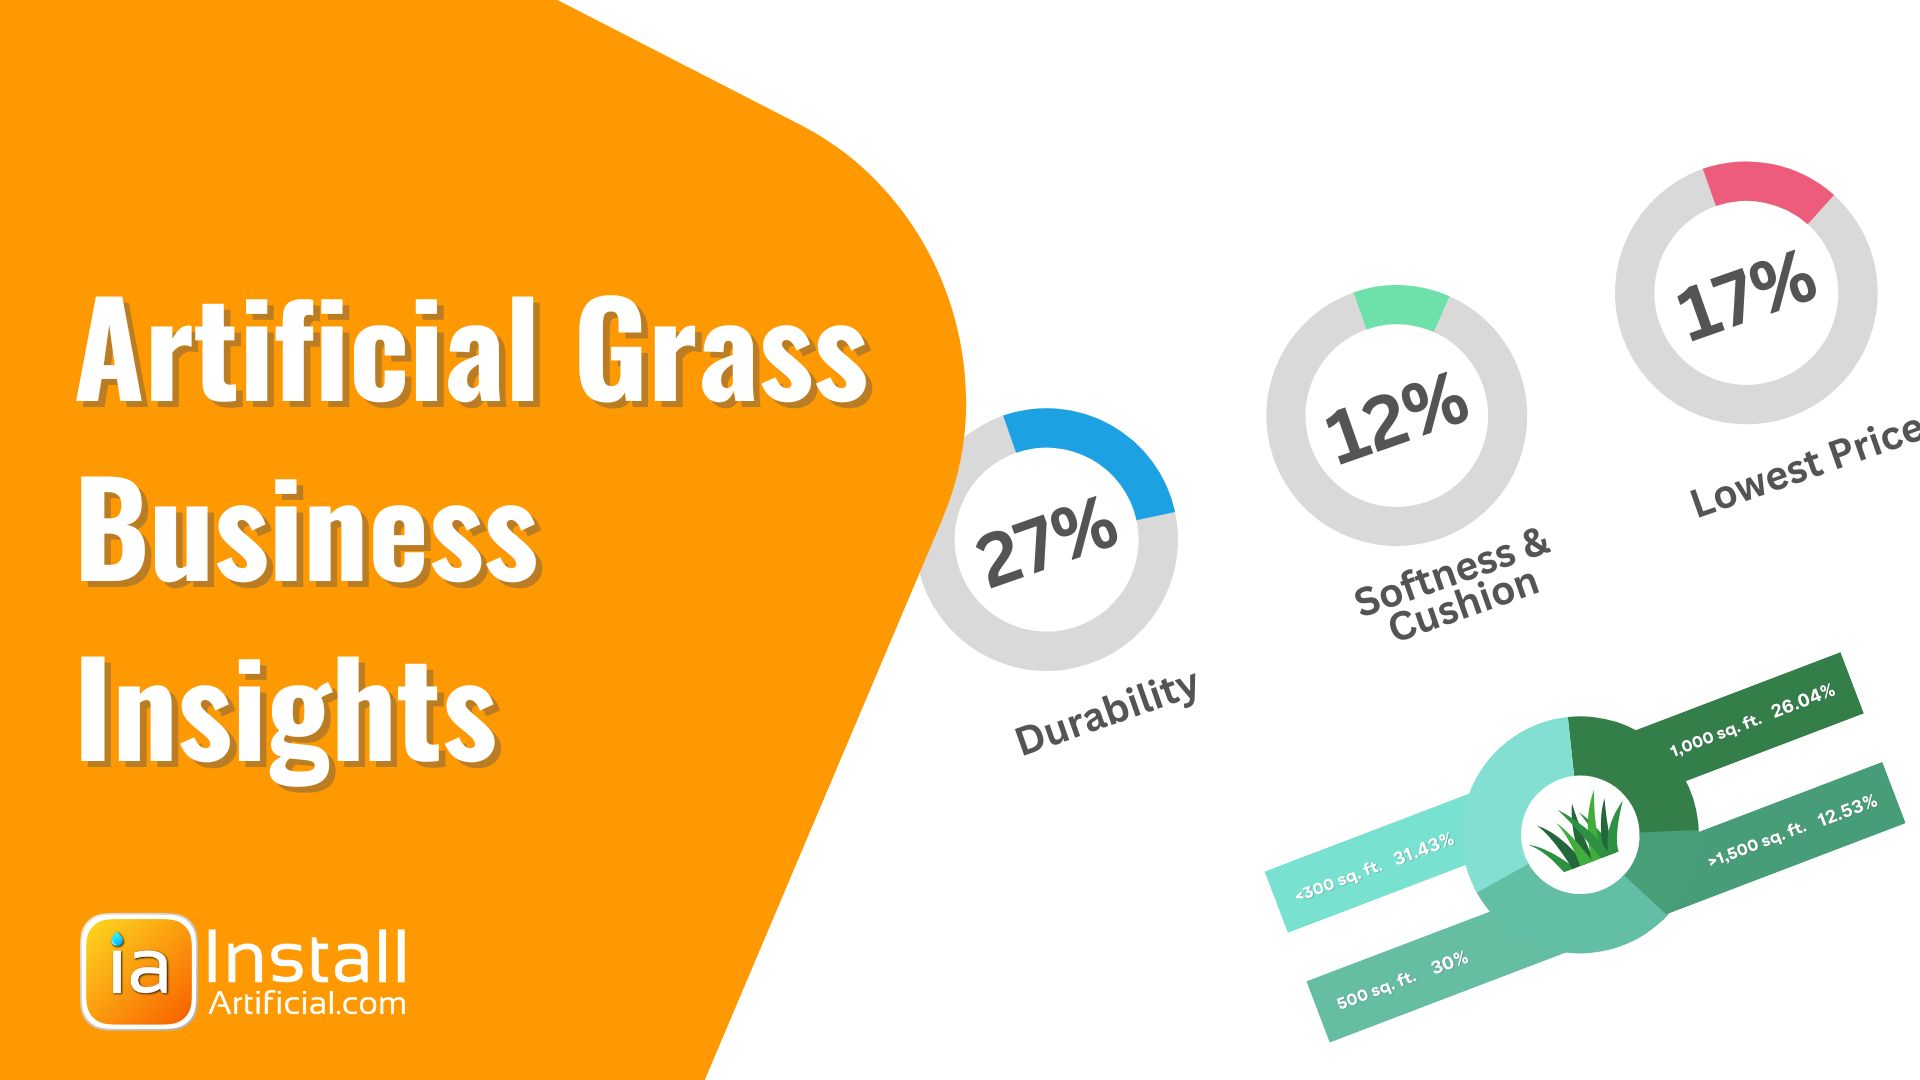
This is a live article that we are updating with fresh data, insights, and statistics on the artificial grass business.
See the jewel insights from the local artificial grass company operating in Los Angeles, CA. We tried to compile unique and specific information about the residential artificial grass business.
Feel free to use the data in any way or format you desire as long as you provide a quote with a link. We have got more insights! Contact us with your specific needs and we will be happy to help you.
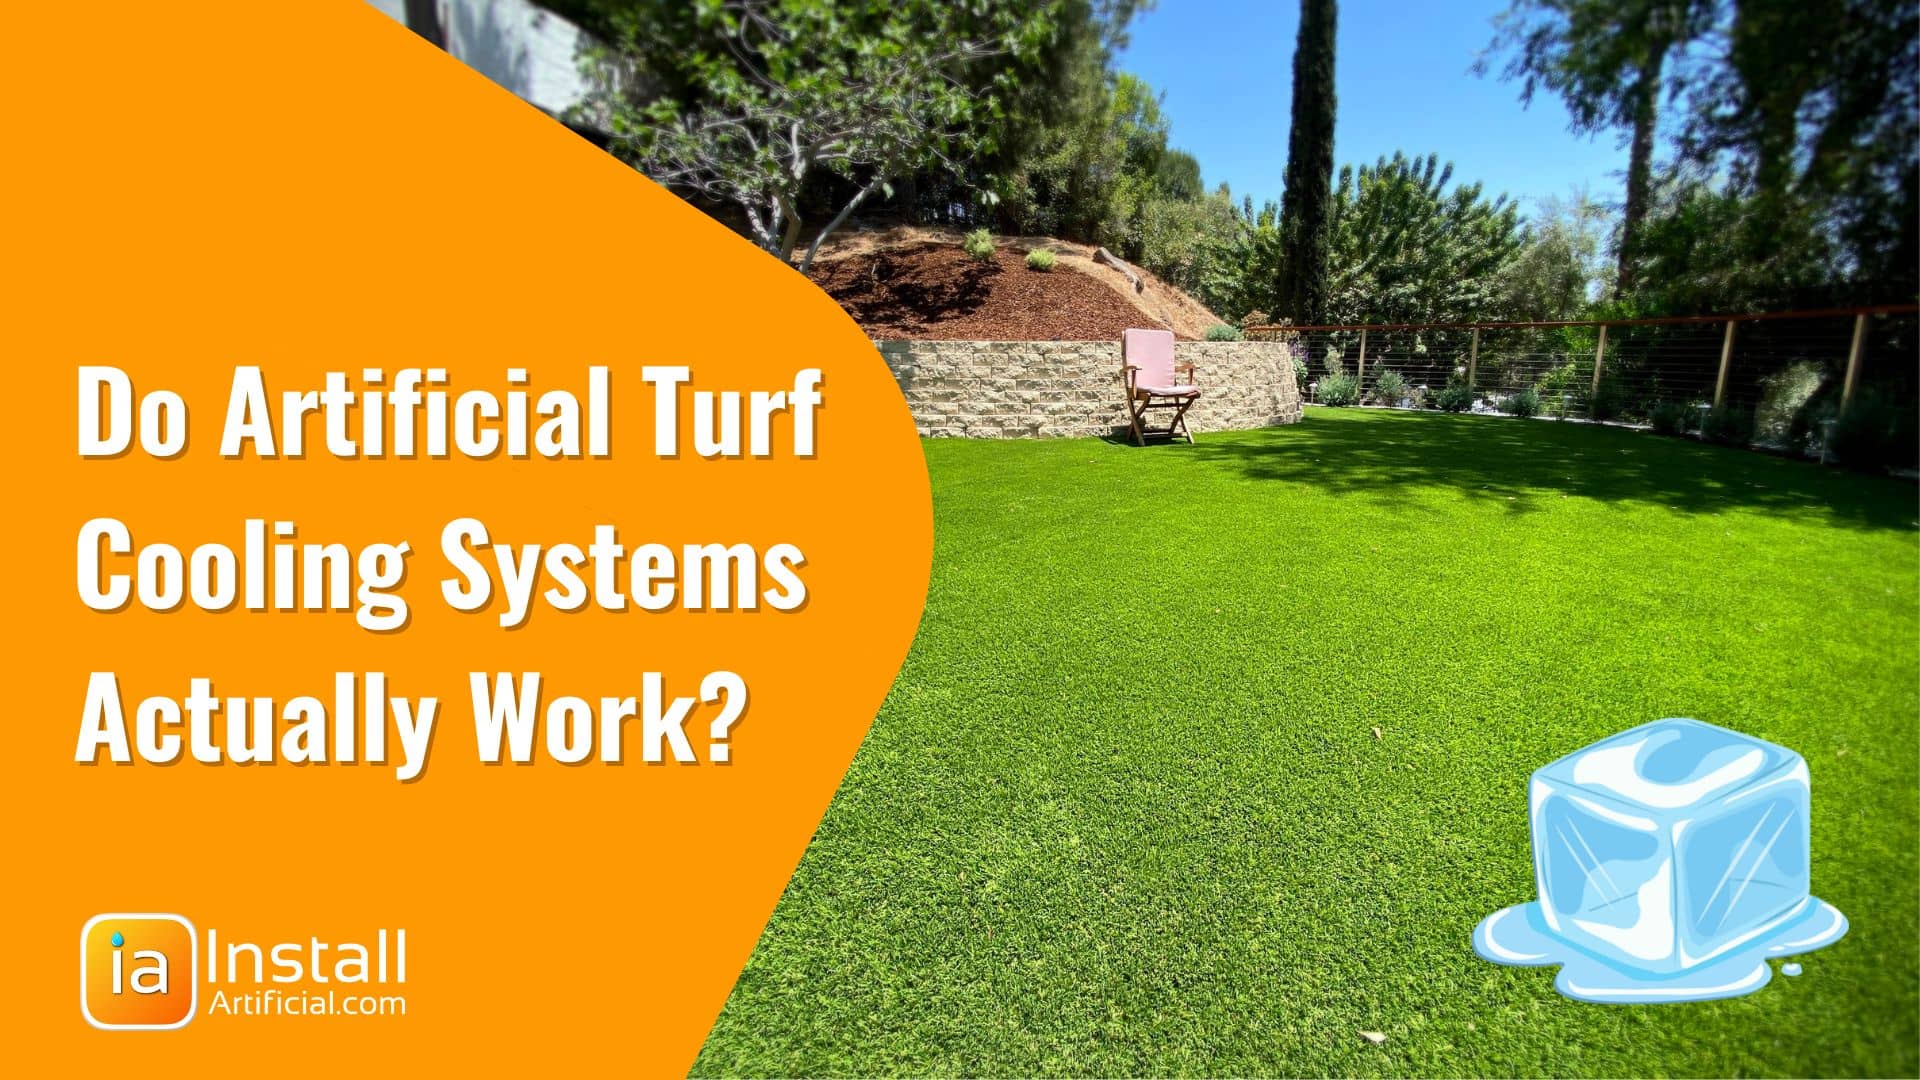
It's no secret that artificial grass can become warm to the touch under the sun in the mid-day heat. With advancing technologies hitting the market many are taking advantage of premium cooling infills that pledge to offer an artificial grass surface that stays cool. But just how effective are these cooling systems?
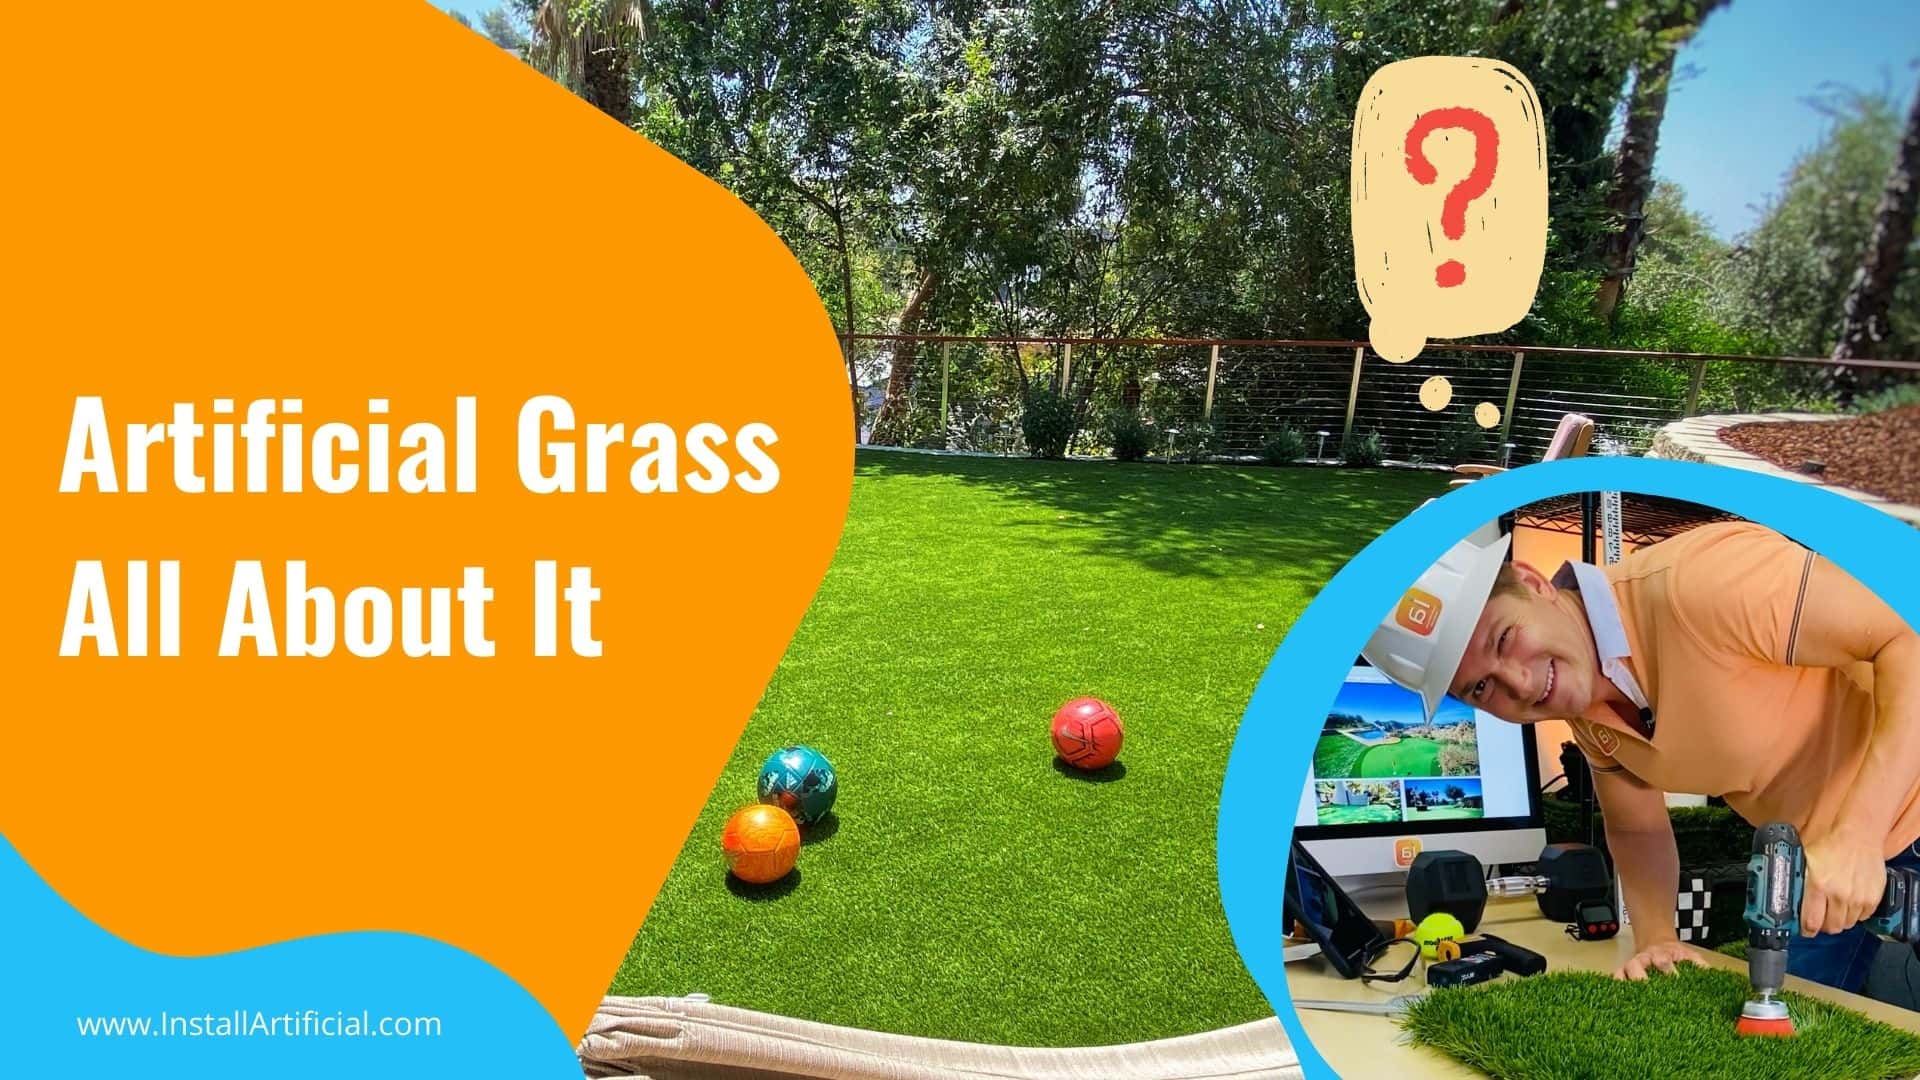
Is artificial grass right for you? Find the answers to the most important questions before you buy or install artificial grass. Learn key terms, the different types, shapes, infills, and installation steps of synthetic turf. Watch videos with professional opinions on fake grass. Updated on 12/08/23.

Want to save more money on your artificial grass project without compromising on desired specs or materials? There's always a way to add additional savings! Below we'll discuss a few ways to receive additional discounts on your next turf installation.
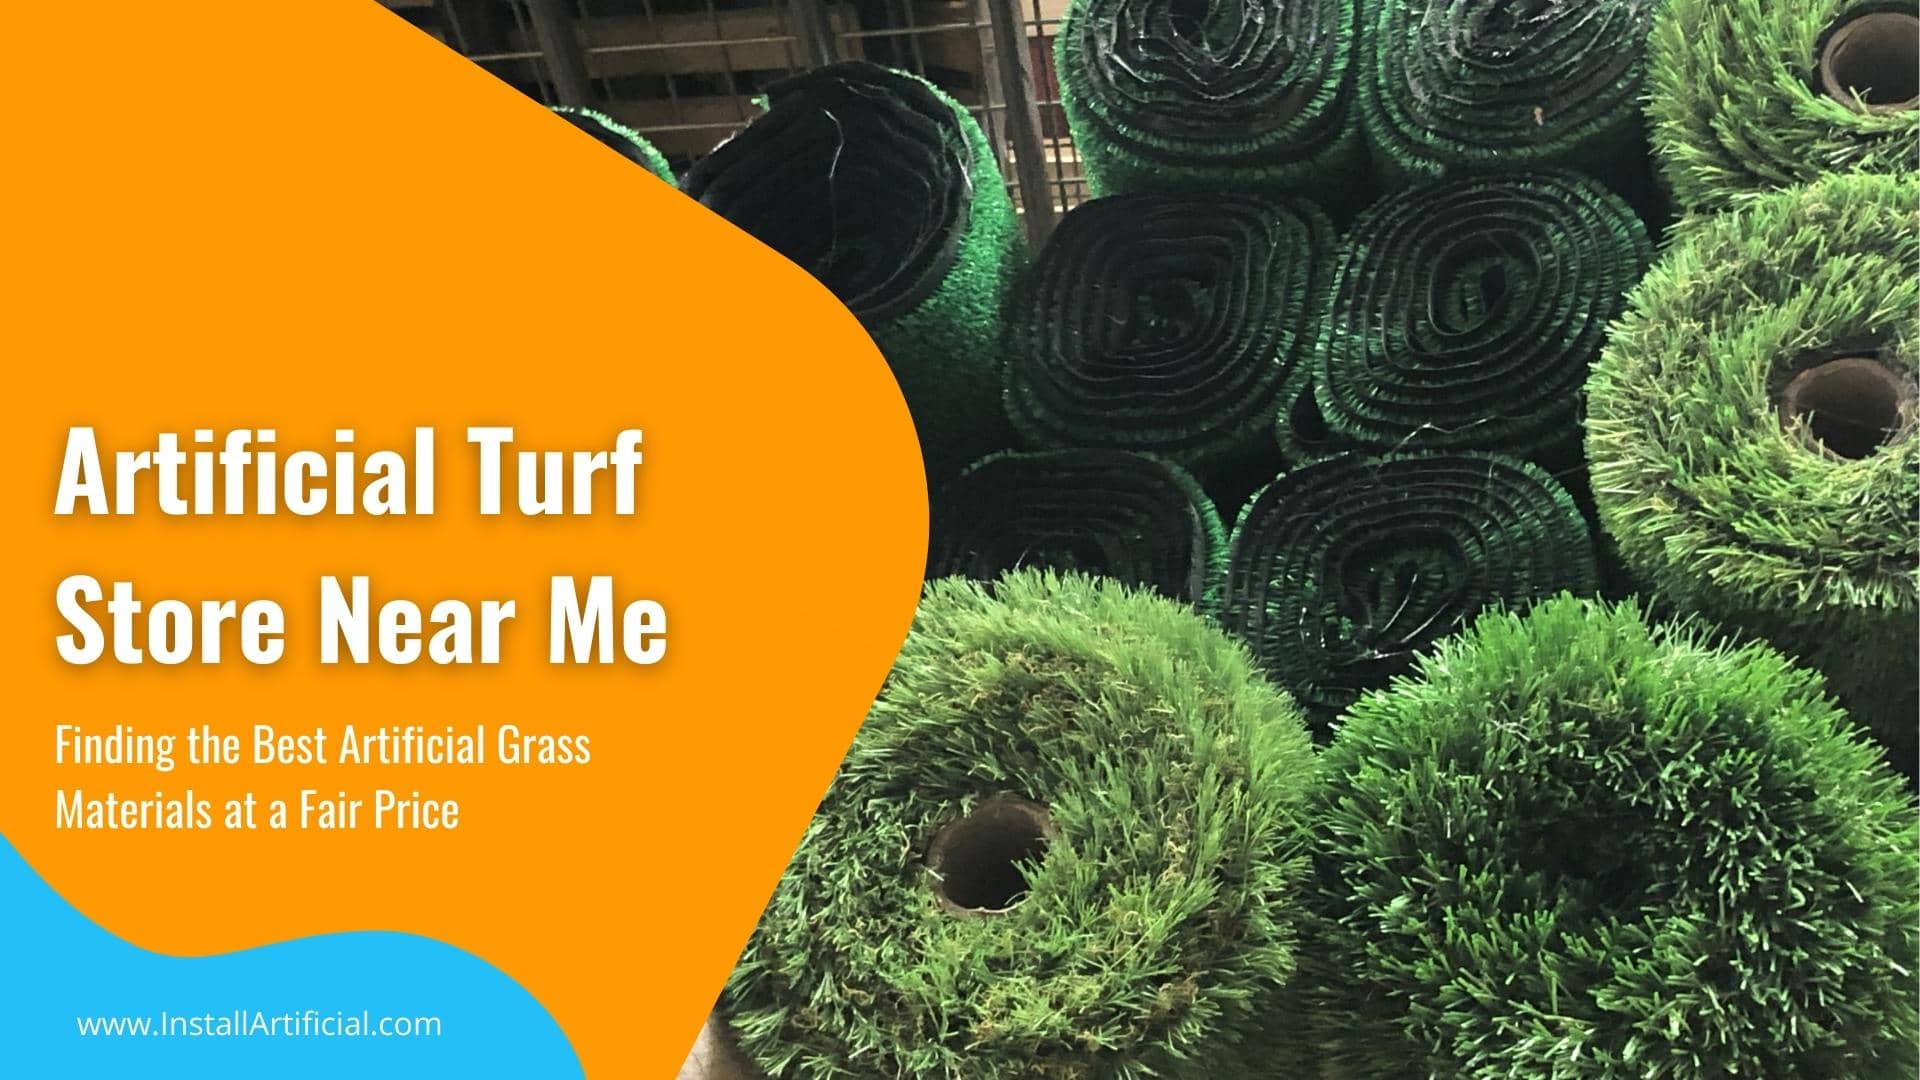
When you google "artificial turf stores near me", you'll find all kinds of results. But how do you determine who's trustworthy? Below we'll discuss buying artificial turf in-store vs. online and help you navigate google search results to find high-quality artificial grass materials at a fair price.
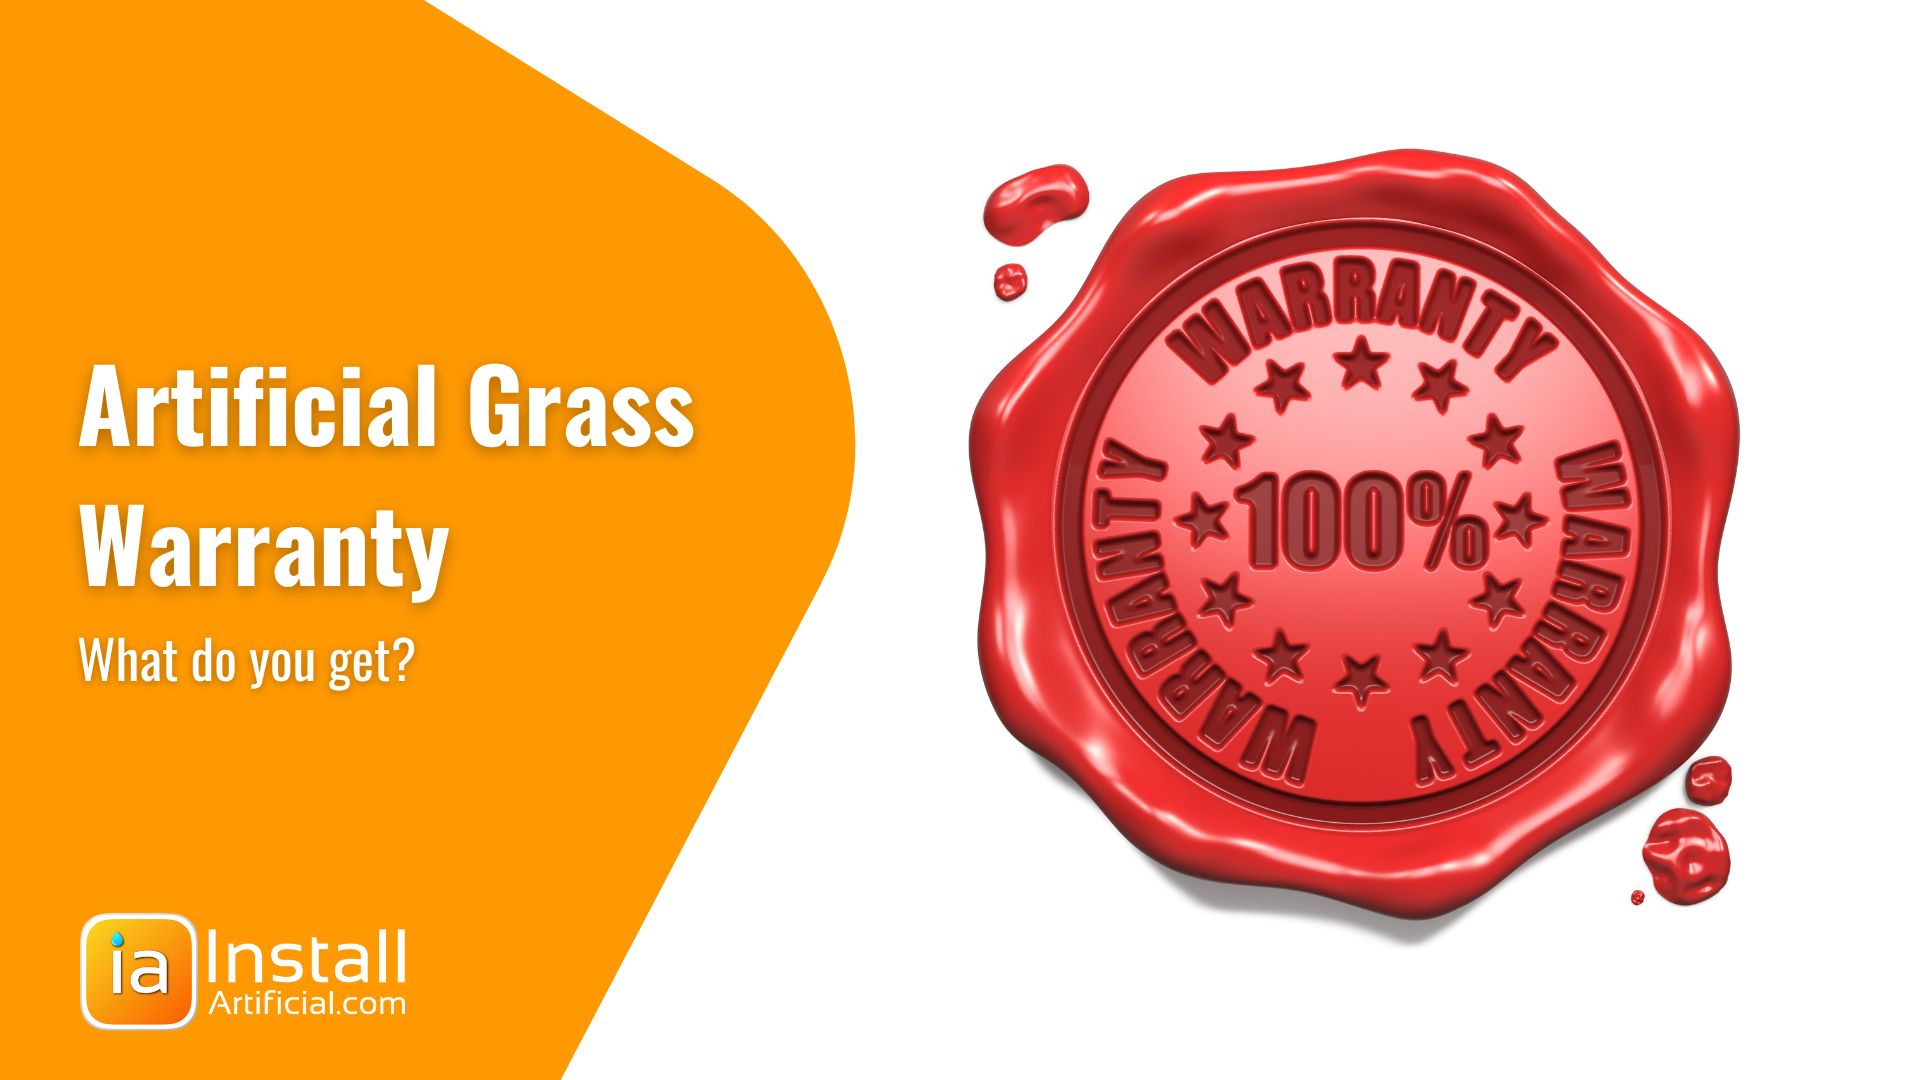
In our opinion, most artificial turf warranties are highly overrated. Most clients will not receive an enforceable warranty on artificial grass, despite receiving all the guarantees and certificates. We will explain below how lifetime warranties work and how to protect your artificial grass project when you type artificial grass near me.
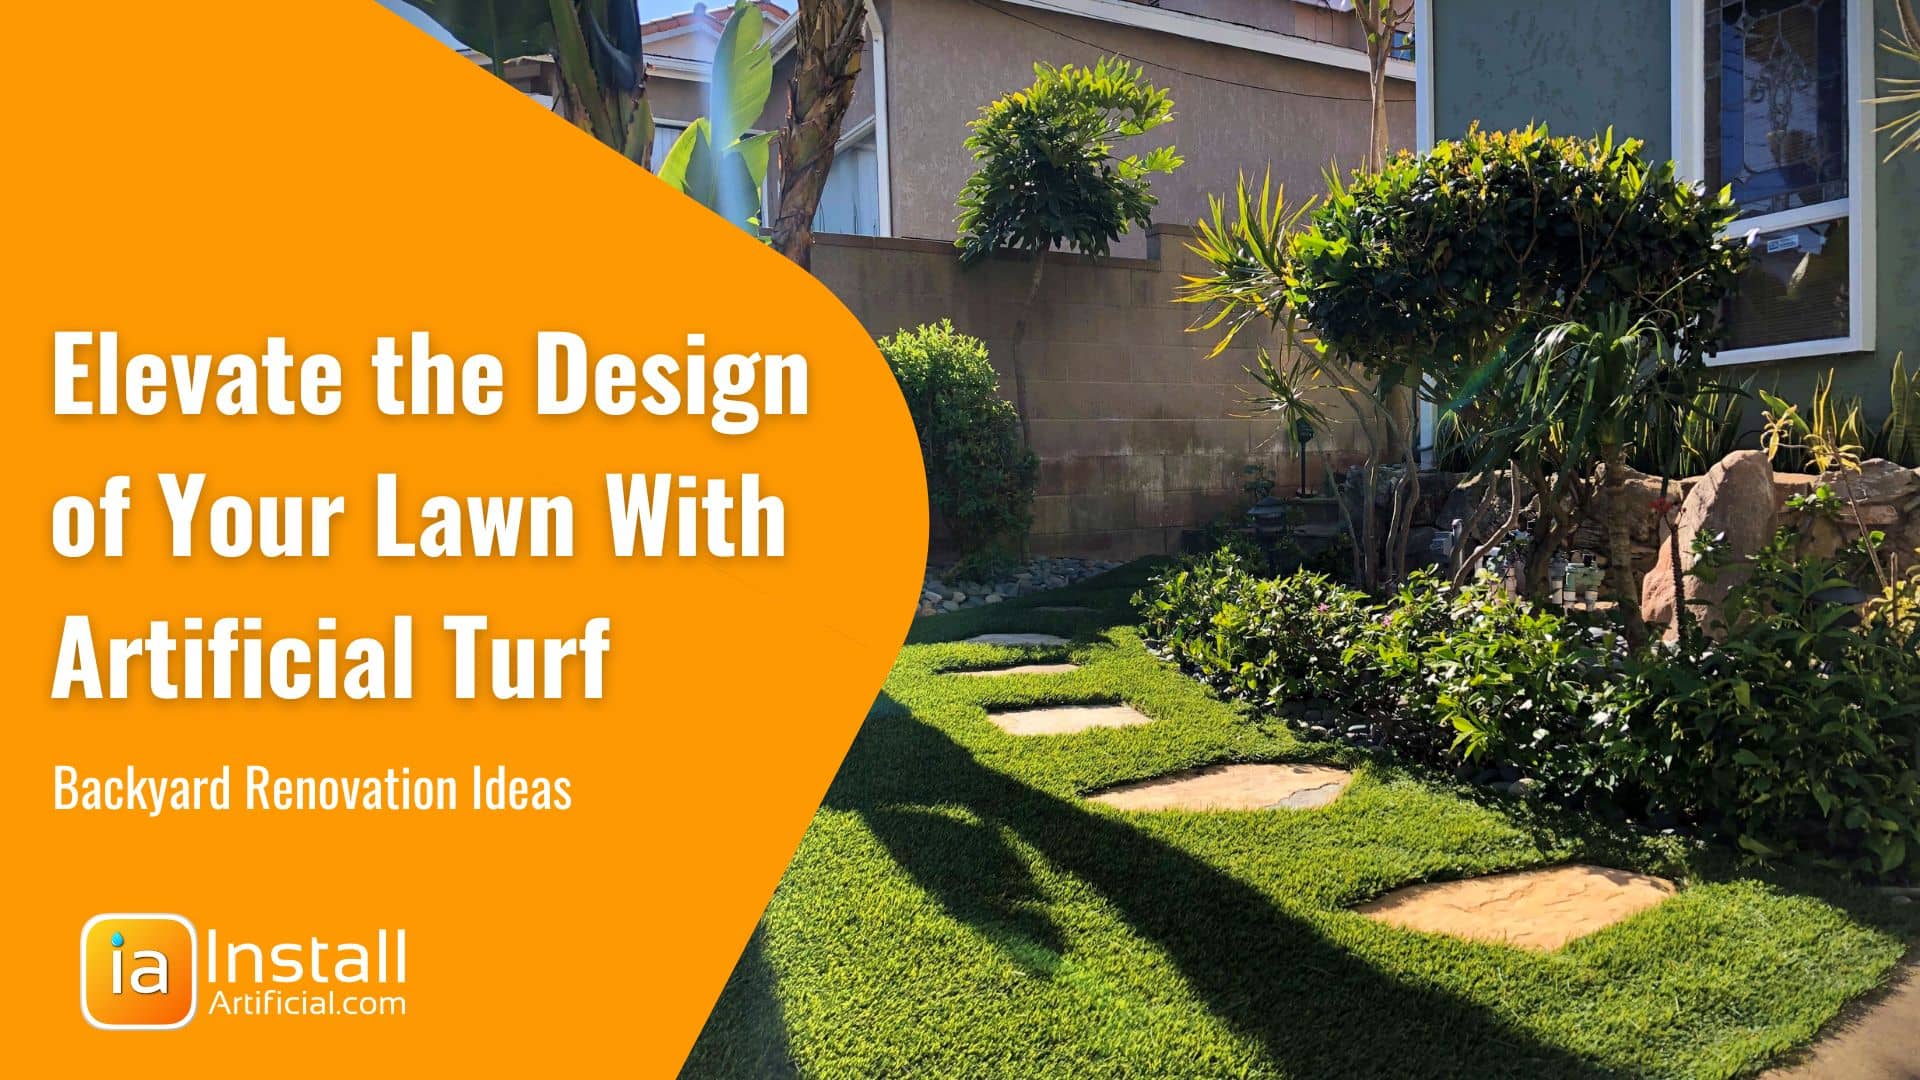
Renovate your backyard with artificial grass! Transform your unusable space into a clean and aesthetically pleasing area to spend time with your family and entertain. Keep reading below to find popular ways to incorporate synthetic turf into your backyard renovation and learn how you can use hardscape, pavers, and live plants in your design to elevate the look of your lawn.
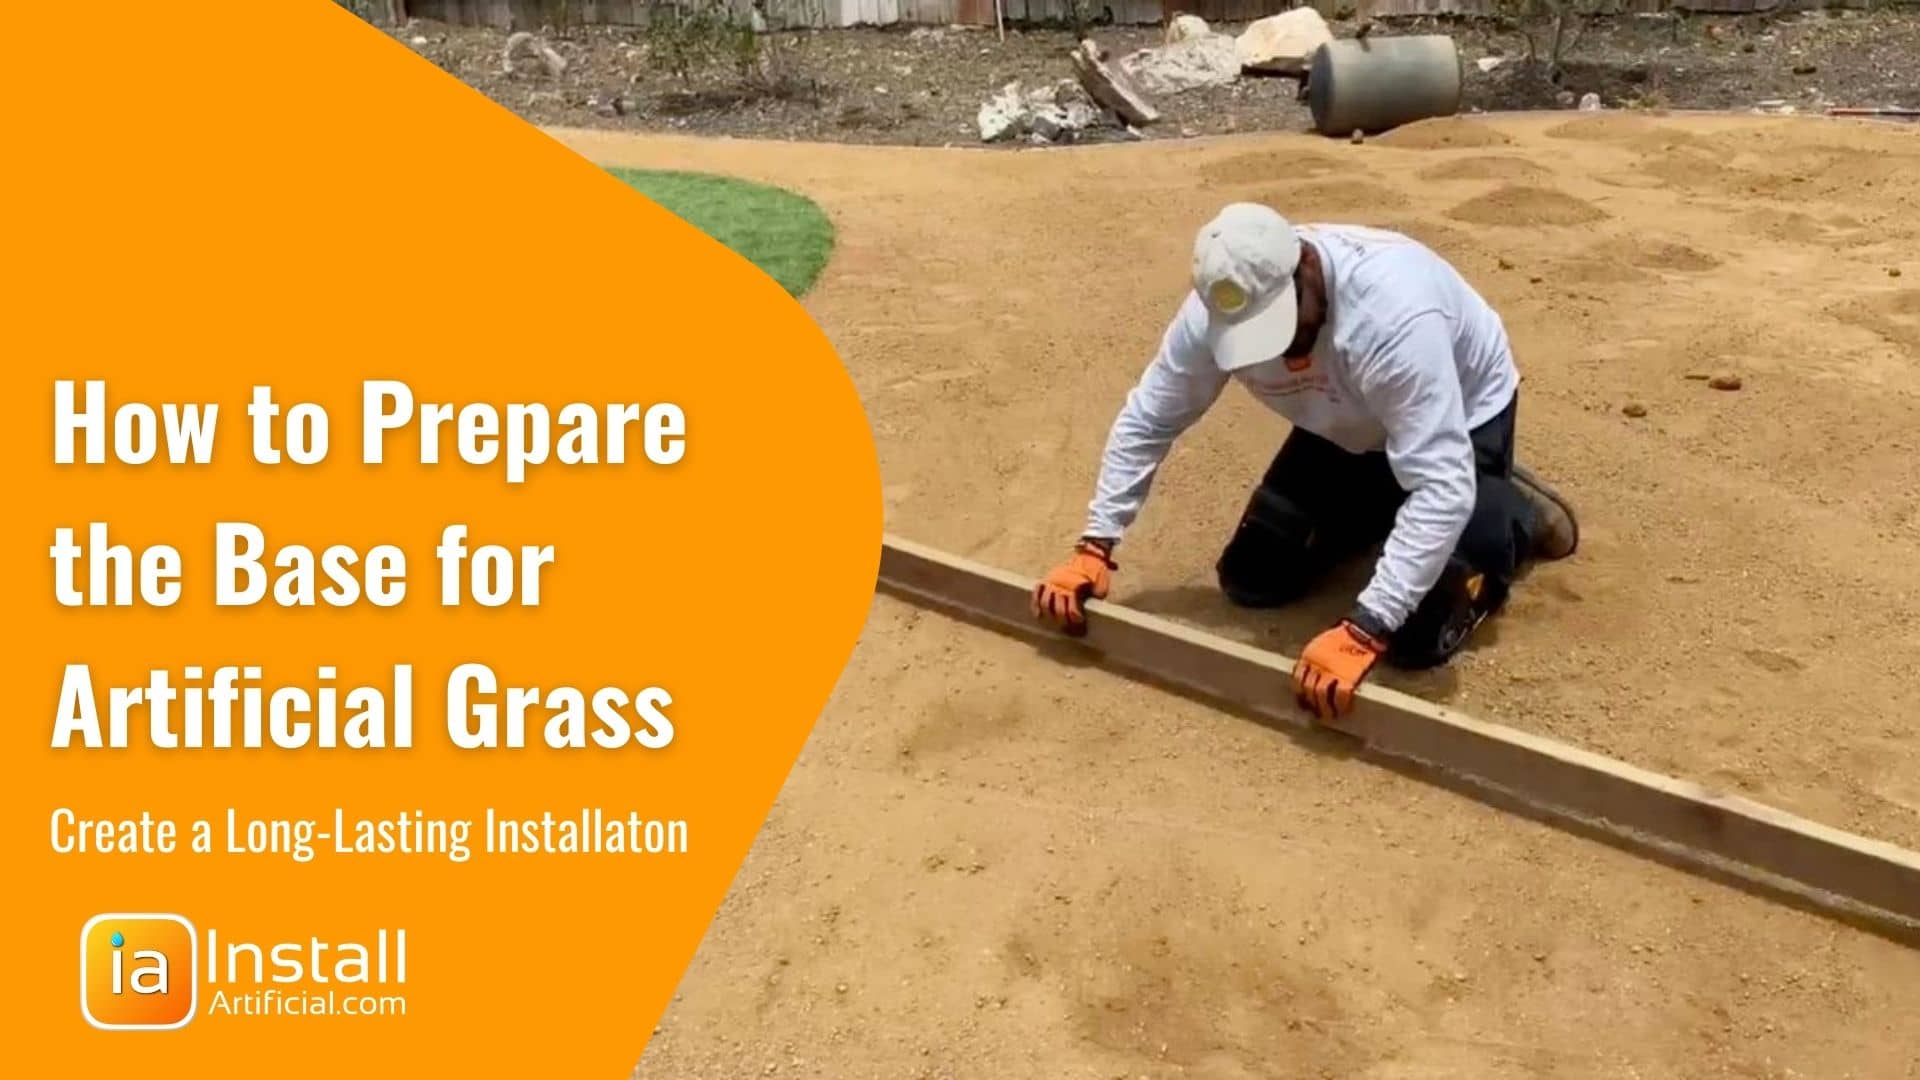
Learn how to remove the existing ground cover and prepare the base of artificial grass to ensure your new synthetic lawn will be long-lasting. Hear prep recommendations for DIYers, and manufacturer's guidelines to understand the process of installing the base layer for turf.
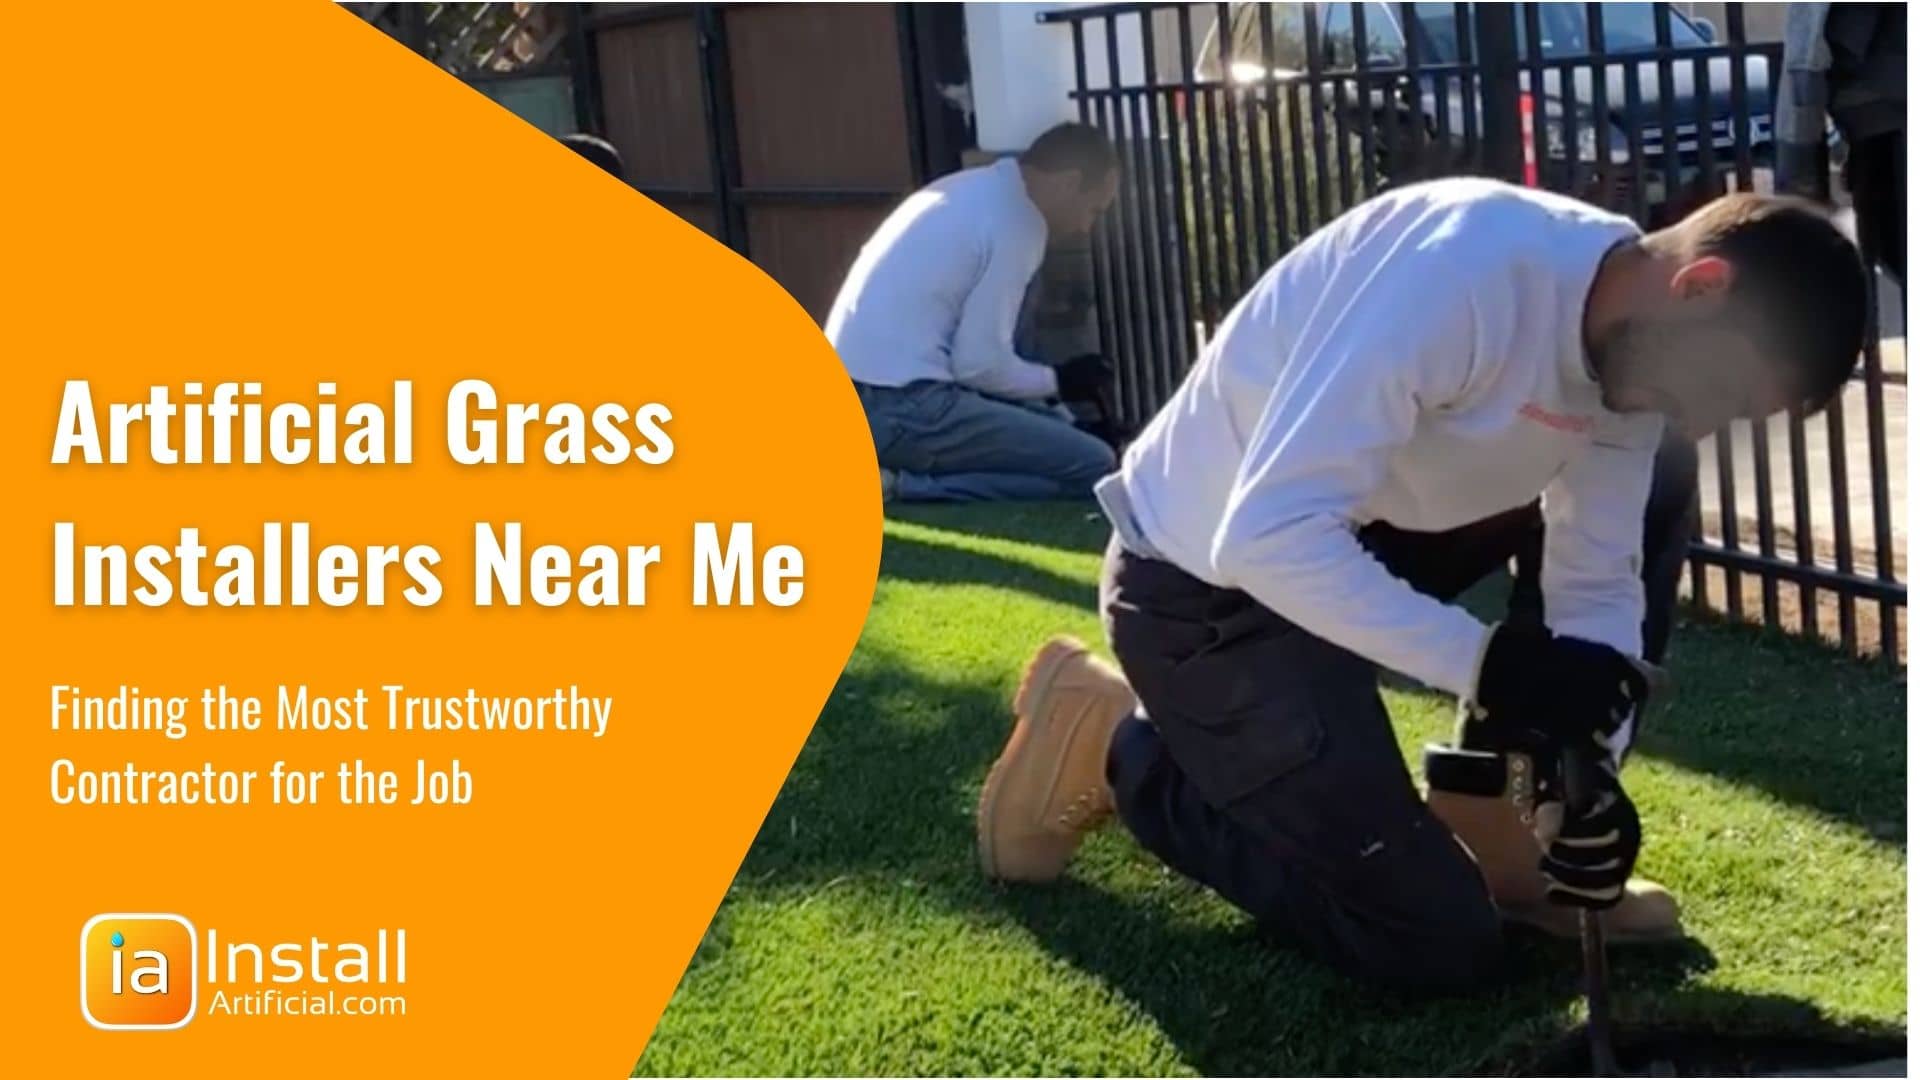

When you google "artificial grass installers near me", you see a long list of companies. But how do you determine who's trustworthy? Below we'll review all types of artificial grass installation companies and help you determine which companies will typically deliver the best price and quality.